Simple Stained Glass:
3 Beautiful Designs for Beginners
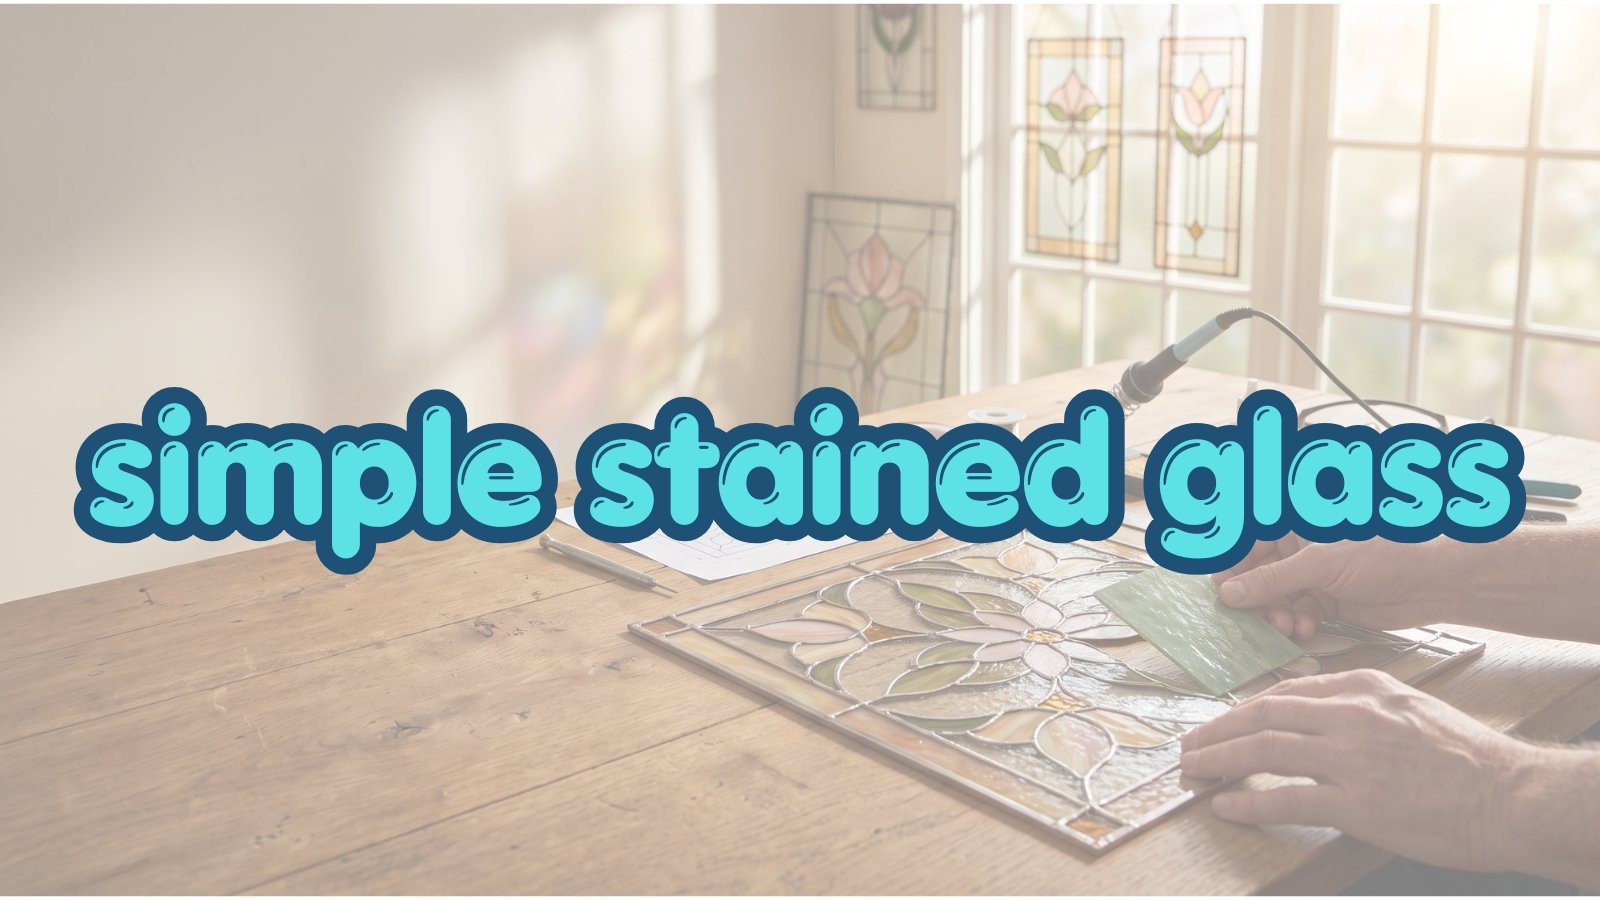
Have you ever looked at a stained glass window. Wondered if you could make something like that yourself? The colors, the way sunlight passes through the glass and the little details can make stained glass look complicated.. The truth is, you don’t need to start with a large detailed project to enjoy this craft.
A simple stained glass design can be a place to begin. With a pattern a manageable number of pieces and a few carefully chosen colors you can create something beautiful without feeling overwhelmed.
Whether you’re a beginner learning to work with glass or an experienced maker looking for a relaxing project choosing the pattern can make a big difference. In this guide we’ll look at what makes a stained glass pattern beginner-friendly how to choose colors and three lovely design ideas inspired by nature, travel and the seaside.
What Makes a Simple Stained Glass Pattern Easy to Make?
Not every beautiful design needs dozens of pieces. In fact some of the appealing stained glass projects use simple shapes and let the colors do most of the work.
If you’re choosing your project here are five things worth looking for.
- Large manageable glass pieces
One of the challenges for beginners is cutting small or narrow sections of glass. Tiny pieces can be difficult to handle, grind and fit accurately.
Look for a pattern with large sections and enough space to work comfortably. A design with well-planned pieces can be more enjoyable than one filled with intricate details.
- Clear pattern lines
A good stained glass pattern should make it easy to see where one piece ends and another begins. Clear outlines help you identify each section plan your glass colors and understand how the design fits together.
If you’re using a pattern check that the lines remain clear when printed at your intended size.
- Simple shapes with a silhouette
Flowers, leaves, animals, shells and balloons can all work beautifully as simple stained glass designs. Their overall shapes are recognizable so you don’t need to add lots of details to make the finished piece interesting.
- A limited color palette
You don’t need every color in the glass shop to make something eye-catching. Two or three main colors, combined with an accents can create a balanced and professional look.
For example warm amber and brown can give a woodland design a feel while blue and turquoise can bring a seaside pattern to life.
- A pattern suited to your experience
A design may look simple in a photograph. Still contain difficult cuts. Before starting inspect the pattern and look for narrow sections sharp inside corners and small pieces that may be challenging to cut.
Remember that simple-looking and easy to construct are not always the thing. The patterns actual divisions matter as much as its overall shape.
3 Simple Stained Glass Designs to Inspire Your Next Project
Sometimes the part of starting a project is deciding what to make. These three designs offer different styles so you can choose the one that best matches your taste.
Fawn Stained Glass Pattern: A Sweet Woodland Design
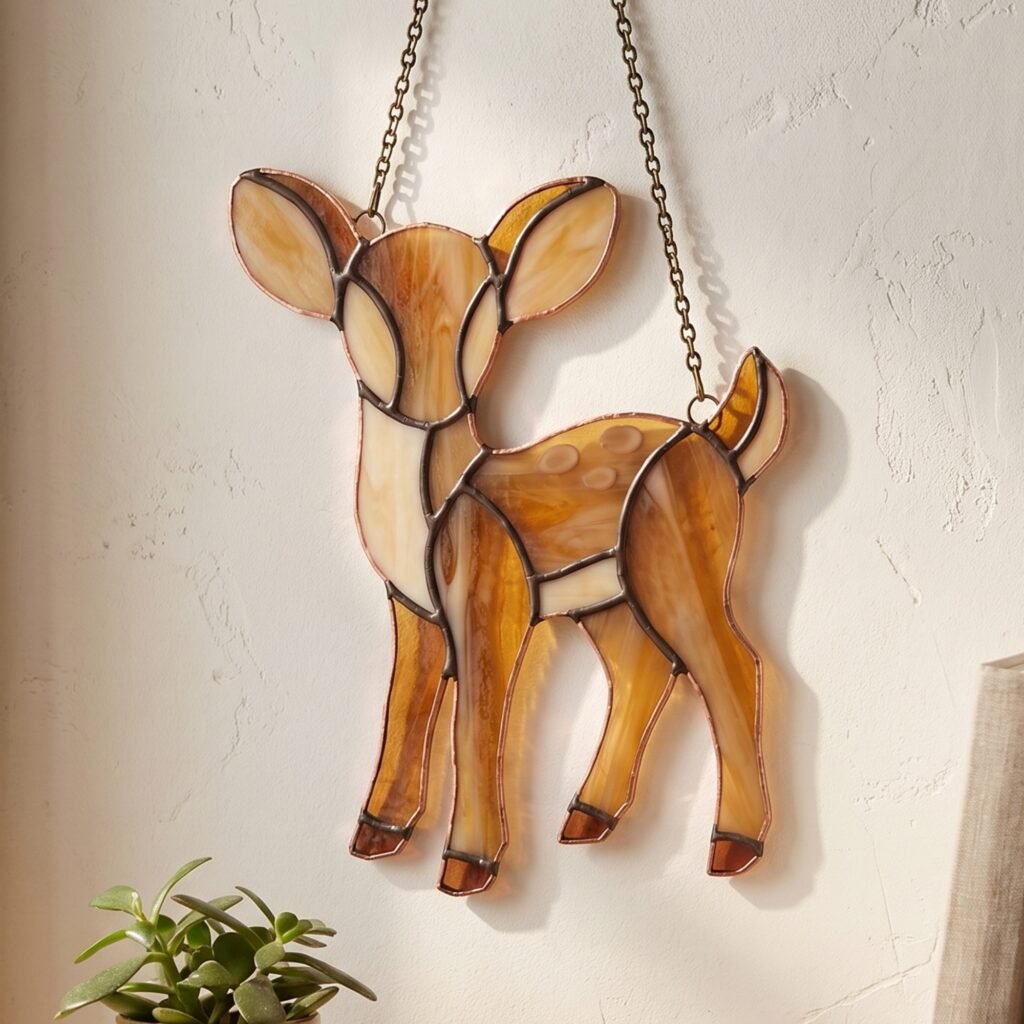
A little fawn is a lovely choice if you enjoy woodland animals and natural decorations. Its gentle expression and familiar shape can make it a charming addition to a window, craft room or nature-inspired space.
For the colors consider brown, honey, cream and soft golden tones. A few darker accents can help define the face and ears without making the design feel too busy.
How to make a fawn design look beautiful
Keep the face readable. The eyes, nose and ears are details so avoid making them unnecessarily tiny.
Use colors. Different shades of brown and cream can give the design depth while keeping the appearance harmonious.
Let the silhouette do the work. A recognizable head and ear shape can make the piece appealing without requiring decoration.
Check the sections. Facial details and narrow areas around the ears may need attention when planning a real glass project.
A fawn pattern is a reminder that simple designs can still feel expressive. You can create a gentle look through the combination of shape, color and a few well-placed details.
Want to try this design? Explore the Fawn Stained Glass Pattern in my shop. Check the pattern details before choosing it for your next project.
Hot Air Balloon Stained Glass Pattern: Colorful and Cheerful
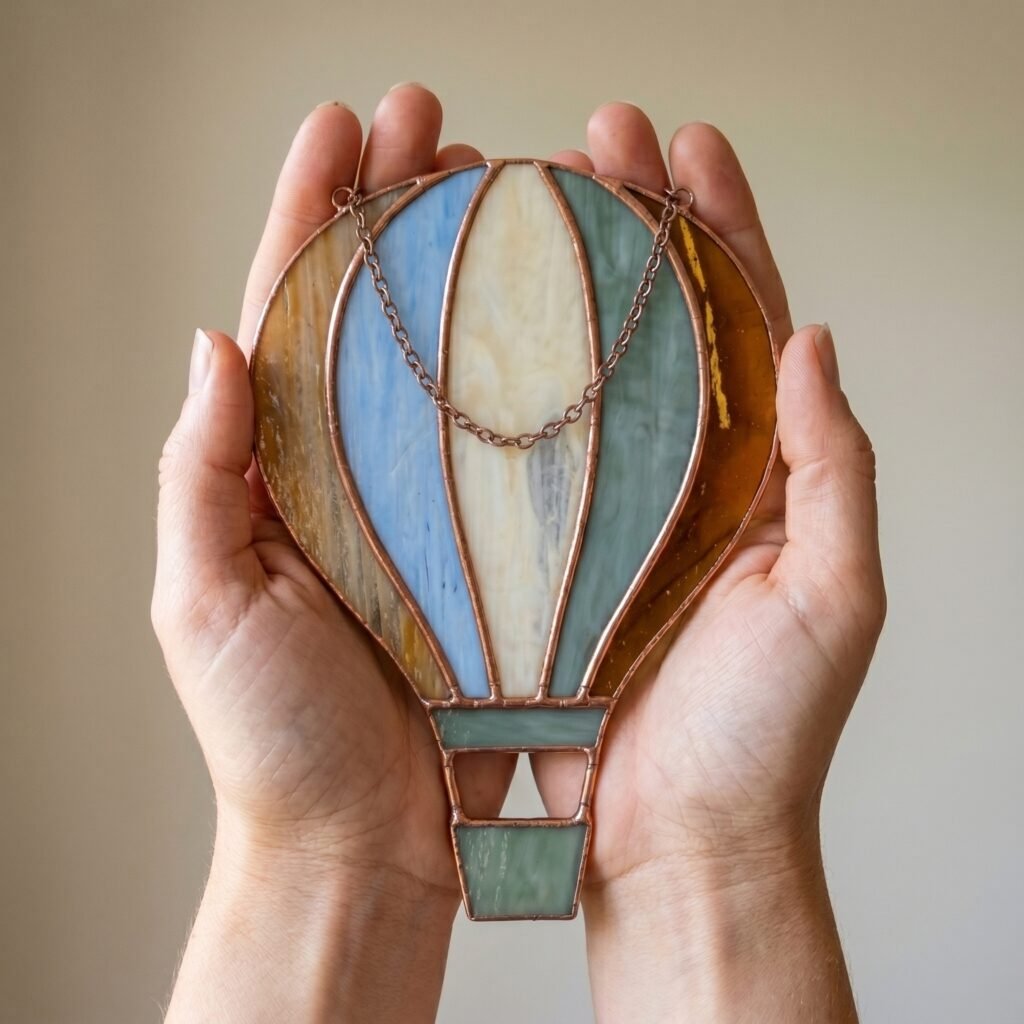
If you prefer bright colors and a playful design, a hot air balloon can be a wonderful option. Its rounded envelope, sections and small basket create a familiar silhouette that works well as a decorative window piece.
This design also offers plenty of opportunities to experiment with color. You could choose blue and yellow for a look, red and orange for a warmer palette or several coordinated colors for a more whimsical style.
Choosing colors for an air balloon
A useful approach is to select one main color family and add one or two contrasting shades. For example:
- Golden yellow: Bright, cheerful and reminiscent of a sky.
- Red. Amber: Warm colors that stand out beautifully near a window.
- Soft green: A calmer combination for a decorative style.
- Purple and pink: A palette for a more imaginative design.
Try to balance the colors across the balloon rather than placing every bright shade in one area. This helps the finished piece feel intentional.
Is an air balloon easy for beginners?
It can be, depending on how the pattern’s divided. Large balloon sections may be manageable. Narrow curved pieces and the small basket can add difficulty.
If you’re new to stained glass choose a version with sections, clean curves and a basket that doesn’t rely on many tiny pieces. Always inspect the pattern itself than judging difficulty from the finished image alone.
Looking for a project? Take a look at my Hot Air Balloon Stained Glass Pattern for inspiration for your handmade decoration.
Seashell Stained Glass Pattern: Bring the Coast Indoors
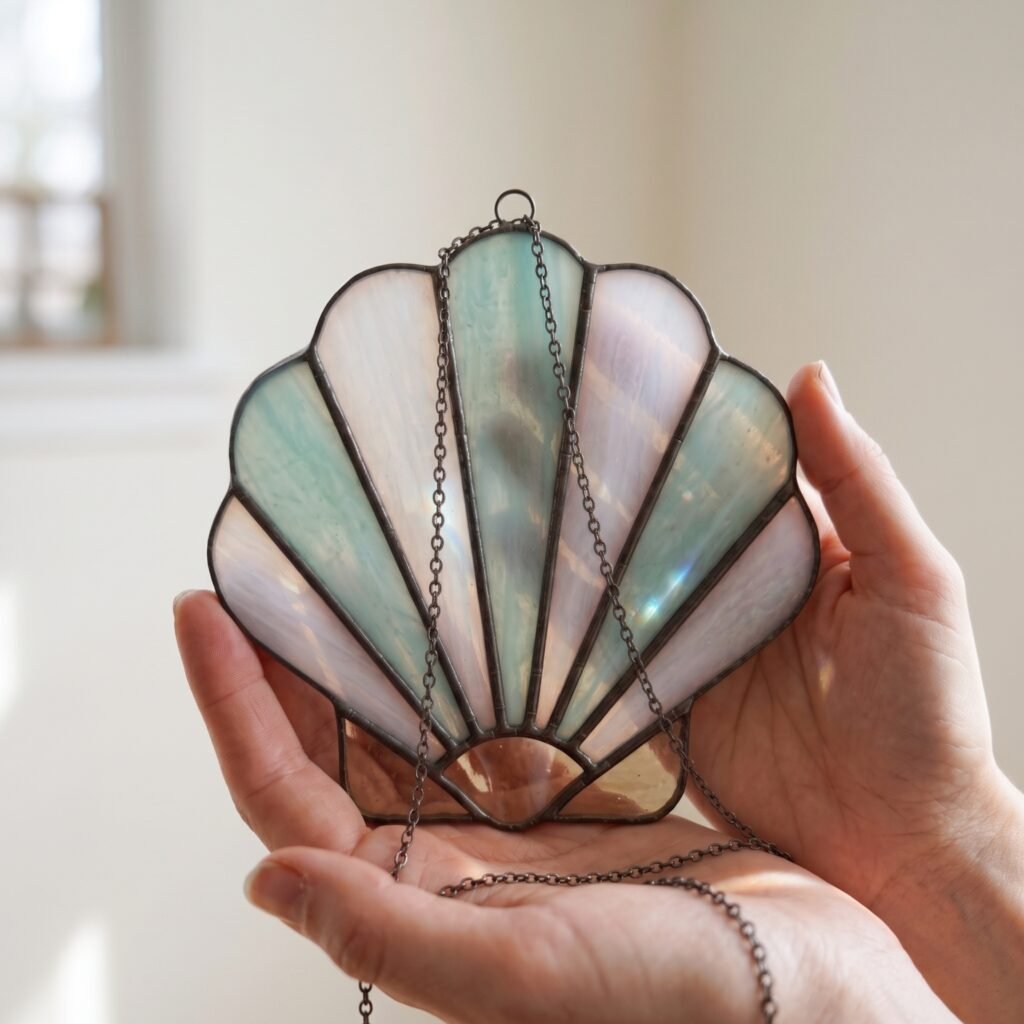
You don’t need to live near the ocean to enjoy coastal-inspired decorations. A seashell stained glass design can bring a little of that peaceful seaside feeling into your home.
Seashells are especially interesting because their natural shapes already have curves and repeating lines. With a restrained color palette a shell can create an attractive finished piece.
The best colors for a seashell design
For a coastal look consider:
- Turquoise and aqua: Reminiscent of ocean water.
- Pale. Clear textured glass: Light, airy and suitable for a sunny window.
- Sandy beige: Inspired by shells found along the beach.
- Coral and warm pink: Adds a pop of color.
- Deep blue accents: Creates contrast without requiring many different shades.
You can choose either a shell palette or a more artistic combination. The key is to make sure the colors complement one another.
How to keep a seashell pattern manageable
Some shells have thin ridges and reproducing every ridge as a separate glass piece can make a pattern unnecessarily difficult. For a beginner- project look for a design that suggests the shells natural lines with a smaller number of broader sections.
Smooth curves and larger pieces are generally easier to work with than lots of strips. If the pattern has thin sections consider whether a simplified version would be more suitable for your skill level.
Love designs? Explore my Seashell Stained Glass Pattern for a project inspired by the shapes and colors of the sea.
Basic Tools and Materials for Stained Glass
If you’re planning to turn a pattern into a real glass piece you’ll need more than the design itself. The exact supplies depend on your technique. Traditional stained glass projects often use the following:
- A stained glass pattern: Printed or displayed at the size you need.
- Glass: Choose colors and textures that suit the design.
- Glass cutter and running tools: Used to score and break glass appropriately.
- Grinder: Helps refine the edges so pieces fit together.
- Copper foil or lead came: Choose the construction method that matches your project.
- Soldering supplies: Required for the assembly method.
- Protective equipment: Use eye protection and follow safe handling practices for glass and tools.
If you’re a beginner learn the techniques before cutting or soldering glass. A pattern is a guide to the design, not a substitute, for instruction.
From Digital Pattern to Finished Stained Glass
One of the parts of stained glass is seeing a flat pattern gradually become a piece that catches the light. A little planning can make the process easier.
Step 1: Review the pattern
Before cutting anything look over the entire design. Notice how the pieces connect, which sections may be difficult and whether the pattern matches your experience.
Step 2: Decide on your colors
Choose your main glass colors before starting. You can mark the intended colors on a copy of the pattern to help you stay organized.
Step 3: Check the printed size
Make sure the pattern prints at the dimensions you intend to use. If you resize it check whether any narrow pieces become too small to work with comfortably.
Step 4: Work through the pieces
Follow your chosen construction method and use appropriate tools and safety equipment. Take your time with edges and smaller sections rather than trying to rush the process.
Step 5: Enjoy the piece
Once complete place your work where natural light can pass through it. A window can reveal color variations and textures that may be less noticeable under lighting.
Common Mistakes to Avoid When Choosing a Simple Stained Glass Pattern
Even an attractive design can become frustrating if it isn’t suitable for the maker. Here are a few mistakes to watch out for.
Choosing a pattern only because it looks easy. A simple silhouette may still contain pieces or difficult cuts. Inspect the pattern lines before committing.
Using many colors. More colors don’t automatically make a design. Start with a palette and add accents where they improve the composition.
Ignoring sections. Thin strips of glass can be difficult to cut and fit. Check whether the pattern includes areas that may need skill.
Printing at the size. A design that looks clear on a screen may become harder to work with when printed small. Confirm the dimensions first.
Expecting every project to be perfect. Stained glass involves practice. Each project can teach you about glass selection, cutting, fitting and color balance.
Where to Find Simple Stained Glass Patterns
Once you’ve found a style you enjoy you may want to explore more designs featuring animals, flowers, seasonal themes and nature-inspired shapes.
I’ve created a collection of stained glass patterns for makers looking for ideas for their project. The collection includes subjects and styles so you can browse and find a design that suits your taste.
Explore stained glass patterns in my Etsy shop
Before purchasing check each listing carefully to confirm the file format included pattern details and any printing or usage information. These are patterns intended to help you plan a project not finished stained glass products.
Final Thoughts
You don’t need a design to create something memorable. Sometimes a few chosen colors and a recognizable shape are enough to make a stained glass piece feel special.
A fawn offers a woodland style a hot air balloon brings a cheerful splash of color and a seashell adds a peaceful coastal touch. Each gives you a direction to explore while reminding you that a good design should balance beauty with practical construction.
Take your time choosing a pattern look carefully at the size and shape of the glass pieces and start with a project that feels achievable. When you’re ready for inspiration browse the stained glass patterns in my Etsy shop and find a design, for your next creative afternoon.