
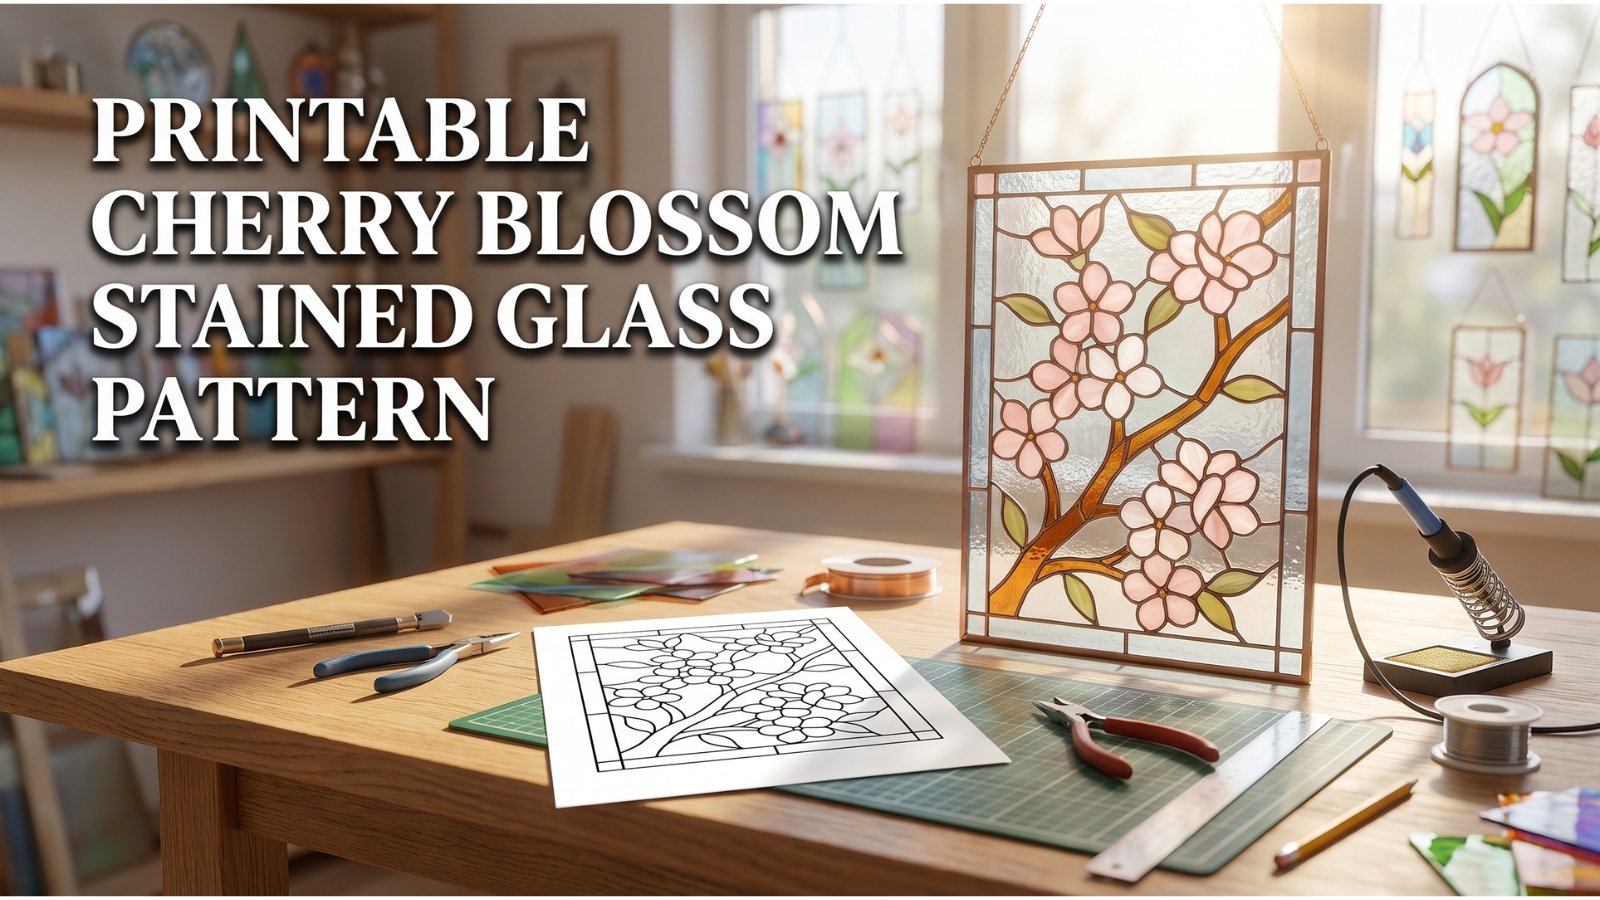
A printable cherry blossom stained glass pattern line art design is one of the fastest ways to go from “I want to make a sakura suncatcher” to actually cutting glass — no waiting on a physical kit, no drawing your own petals from scratch. But a line art pattern is only as good as the print it comes from: get the scale, paper, or tracing step wrong and even a well-drawn design turns into mismatched glass pieces.
This guide covers what a printable cherry blossom stained glass pattern line art file actually is, how to print and size one correctly, how to match petal complexity to your skill level, and how to choose glass colors that make the finished piece glow. If a dedicated cherry blossom design isn’t in your library yet, we’ll also point you to a botanical pattern already available in our shop that uses the same layered-petal structure.
Key Takeaways
- A printable cherry blossom stained glass pattern line art file is a PDF of outlined petal and branch shapes, sized to print at home and trace directly onto glass — no design software needed.
- Always verify the printed scale against a ruler or reference square before cutting; “fit to page” settings can silently shrink a pattern by several percent.
- Piece count (not the number of blossoms) is the best predictor of difficulty — a single-blossom sun catcher and a full flowering branch panel use the same line art style but very different skill levels.
- Digital PDF pattern distribution is reshaping the craft pattern market by collapsing print-to-delivery time “from weeks to seconds” (MarkWide Research, Needlecraft Patterns Market report, May 2026).
- Cherry blossoms carry a specific design appeal beyond florals in general: their five-petal symmetry and layered, semi-transparent color reads especially well in light-transmitting stained glass.
A printed page with a cherry blossom line art motif, a one-inch reference square in the corner, and a ruler icon showing how to verify print scale before tracing onto glass.
1″ reference square
Check this with a ruler first
Before you cut:
1. Turn off “fit to page”
2. Measure the reference square
3. Match tiled-page crop marks
Why Cherry Blossom Designs Work So Well in Stained Glass
Cherry blossoms symbolize renewal and the beauty of impermanence. Japanese culture has a name for this idea, mono no aware — a bittersweet awareness that a thing’s beauty is tied to how briefly it lasts. That symbolism carries over neatly into stained glass: a sun catcher only “blooms” when light passes through it, the same way a real blossom’s color depends on catching the light just right.
The cultural weight behind the motif is real and well documented. The National Cherry Blossom Festival in Washington, D.C. traces back to a 1912 gift of roughly 3,000 cherry trees from the people of Tokyo, and today’s festival has grown into a four-week event that draws more than 1.6 million visitors (National Cherry Blossom Festival). That’s a large, built-in audience already primed to want cherry blossom decor every spring — which is one reason the motif shows up so often in our stained glass design patterns guide alongside other florals.
Structurally, cherry blossoms are also a forgiving subject for line art. Each blossom is five rounded petals around a small center — a simple, repeatable shape that a printable line art pattern can render cleanly at almost any size, from a 4-inch sun catcher to a full branch panel.
What “Printable Line Art” Actually Means for a Stained Glass Pattern
A stained glass pattern doesn’t need color, shading, or texture to be usable — it needs accurate outlines. That’s what “line art” means in this context: every piece of glass in the finished design is represented as a closed outline on the page, usually numbered, so you can trace each shape directly onto glass with a permanent marker or graphite paper.
A printable cherry blossom stained glass pattern line art file is typically delivered as a PDF, built to be printed at home on standard letter or A4 paper. A small sun catcher usually fits one page; a larger panel tiles across several pages you print and tape together. That’s the appeal of buying one as an instant digital download: there’s no shipping wait between deciding on a design and having it on your workbench.
That shift toward instant digital delivery isn’t unique to stained glass. A May 2026 needlecraft patterns market report from MarkWide Research notes that digital PDF distribution is “collapsing print-to-delivery timelines from weeks to seconds.” Online retail channels are capturing outsized growth as a result, since digital delivery eliminates print costs and shipping altogether (MarkWide Research, May 2026). The broader arts and crafts market backs up the demand: global spending grew from an estimated $47.35 billion in 2025 to $50.7 billion in 2026 (The Business Research Company, 2026).
If you haven’t tried a printable pattern before, our free printable stained glass patterns — three downloadable beginner-friendly designs — are a no-cost way to test the print-and-trace workflow before you buy anything.
How to Print and Size a Cherry Blossom Line Art Pattern Correctly
This is the step where most printable patterns go wrong, and it has nothing to do with the design itself.
- Turn off “shrink to fit” or “fit to printable area” in your print dialog. Most PDF pattern files are built at “Actual Size” or 100% scale on purpose. A printer’s automatic scaling feature can quietly shrink the page by a few percent to fit its margins — invisible on screen, but enough to throw off every piece in a multi-page panel.
- Print the file’s built-in scale reference first, if it has one. Many pattern PDFs include a 1-inch or 1-centimeter reference square in a corner specifically so you can check it with a ruler before printing the full design.
- For multi-page patterns, print one test page and match the alignment marks. Tiled patterns usually print with small crop marks or overlap guides at each page edge — line those up before taping, not after you’ve cut every page apart.
- Tape pages on the back, not the front, so you don’t obscure any line art with tape glare when you trace through the paper later.
- Trace onto glass with a fine permanent marker or use pattern-transfer (graphite) paper if you’re going straight onto colored glass where a printed line won’t show through.
Skipping step 1 is the single most common reason a “correctly sized” pattern comes out slightly off — worth the extra thirty seconds every time.
Choosing the Right Petal Complexity for Your Skill Level
Every cherry blossom pattern uses the same basic five-petal shape, so subject matter isn’t what makes one design harder than another — piece count and how tightly the petals overlap is.
| Complexity | Typical Piece Count | Best For |
|---|---|---|
| Beginner | Under 15 pieces | A single blossom or small spray, ideal first sun catcher |
| Intermediate | 15-40 pieces | A short branch with 3-5 blossoms and a few leaves |
| Advanced | 40+ pieces | A full flowering branch panel with layered, overlapping blossoms |
If you’re printing a pattern for the first time, start with a single-blossom or short-spray design. The five-petal shape has gentle curves rather than tight inside corners, which makes it a genuinely good beginner subject — not just a simplified version of a harder design. Once you’re comfortable grinding and foiling that curve consistently, scaling up to a full branch is mostly a matter of piece count, not new technique.
From Printed Pattern to Cut Glass: Petal Color Tips for Sakura Designs
Real cherry blossoms aren’t a flat pink — the base of each petal near the center is pale, almost white, while the outer edge deepens toward rose or magenta. Reproducing that two-tone effect is what makes a stained glass cherry blossom read as a blossom instead of a generic flower shape, and it’s easy to do even on a simple line art pattern:
- Center zone: a very pale pink or opalescent white glass, so light passes through brightest at the blossom’s core.
- Outer petal zone: a deeper rose, magenta, or streaky pink glass for the outer curve of each petal, giving the layered look real cherry blossoms have.
- Branch: a warm brown or bronze glass, or dark patina on your came or foil lines if you’re outlining the branch in metal rather than glass.
- Leaves and buds: sage or olive green in small accents, kept minimal — most cherry blossom patterns are branch-and-blossom focused, with leaves as a supporting detail rather than a dominant color.
Hold your glass choices up to actual daylight before you commit to cutting, since a sun catcher’s whole purpose is how it reads with light behind it, not how it looks on a shelf. For the cutting, grinding, and soldering steps themselves, our how to make stained glass step-by-step guide covers the full copper foil process end to end, and our stained glass suncatchers guide is worth a look if a hanging sun catcher — rather than a framed panel — is the end goal for your cherry blossom piece.
Don’t Have a Dedicated Cherry Blossom Pattern Yet? Try Our Camellia Pattern
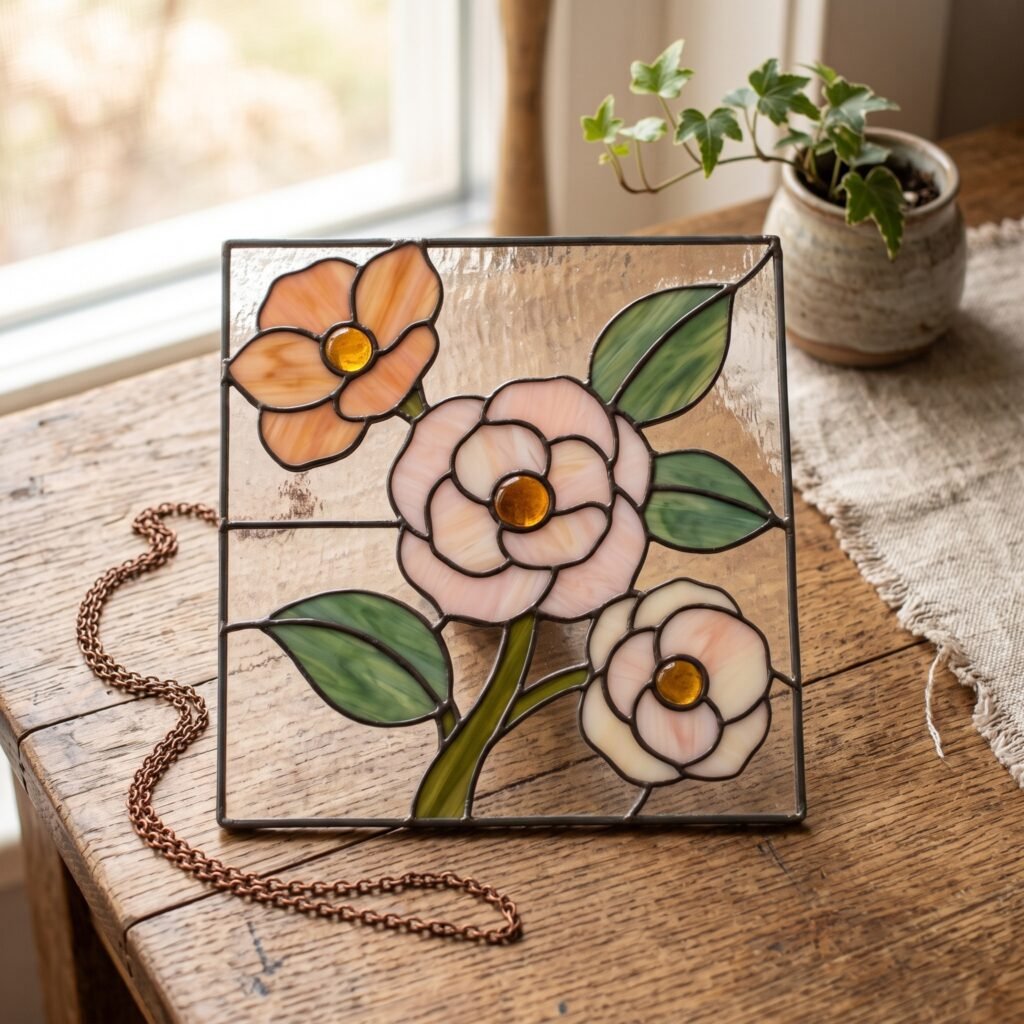
Camellia Stained Glass Pattern
Instant digital download (PDF) — rounded, overlapping petals with the same layered structure described above, so the center-to-edge color technique in this guide applies directly.
We don’t have a dedicated cherry blossom pattern in the shop yet, but our Camellia Stained Glass Pattern is the closest match in structure: rounded, overlapping petals around a small center, printable as an instant digital download PDF, and well suited to the same pale-center-to-deep-edge color layering covered above. If cherry blossom is the exact motif you’re after, it’s worth bookmarking this page and checking back — a dedicated design is a natural next addition to our Florals & Nature collection.
Common Mistakes to Avoid With Printable Floral Line Art Patterns
- Trusting your printer’s default scaling. As covered above, “fit to page” is the single most common reason a printed pattern doesn’t match its listed dimensions.
- Buying glass before counting pieces. A cherry blossom branch pattern can look simple as a thumbnail and still hide 40+ pieces once printed full-size — count before you shop for sheet glass.
- Using a coarse grinder bit on tight petal curves. The rounded, overlapping petal edges in a cherry blossom design need a finer bit and a light touch; see our glass cutting tools guide and stained glass grinder buying guide if your current setup struggles with tight curves.
- Skipping the daylight color check. Petal colors that look right under a workbench lamp can shift noticeably once the piece is actually hanging in a window.
- Tracing directly over tape seams on a multi-page pattern. A slightly misaligned seam is easy to miss until you’re mid-cut — check alignment marks before you trace, not after.
Frequently Asked Questions
Where can I find a printable cherry blossom stained glass pattern?
Digital PDF cherry blossom stained glass patterns are widely available from independent pattern designers on marketplaces like Etsy, and they’re worth comparing on piece count and print-scale clarity, not just the thumbnail image. If you want to test the print-and-trace process first, start with a free pattern like our free printable stained glass patterns before buying.
Can I resize a cherry blossom line art pattern for a bigger panel?
Yes — most PDF patterns can be scaled up using a print shop’s large-format printing or a “poster print” / tiling setting in your own printer software. Keep in mind that scaling up increases every piece proportionally, so a design that felt beginner-friendly at sun catcher size can gain enough fine detail at panel size to become an intermediate project.
What’s the difference between line art and a finished color pattern?
Line art shows only the numbered outlines of each glass piece, with no color guidance — you choose the glass colors yourself. A “finished” or colorized pattern adds a reference image showing one suggested color scheme. Most instant-download stained glass patterns, including cherry blossom designs, are sold as line art specifically so you can make your own color choices, like the center-to-edge petal technique described above.
How many pieces does a typical cherry blossom stained glass pattern have?
It depends entirely on scope, not the flower itself: a single-blossom sun catcher often falls under 15 pieces, while a full branch with several blossoms, buds, and leaves can run 40 or more. Always check the piece count listed with a pattern before buying glass.
Is the Camellia pattern a good substitute for a cherry blossom design?
It’s a reasonable stand-in if you like the overall look of layered, rounded floral petals rendered in light-transmitting glass — the petal shape and the pale-center-to-deep-edge coloring approach both carry over directly. It isn’t a literal cherry blossom silhouette, so if the five-petal sakura shape specifically matters to your project, treat it as a placeholder until a dedicated cherry blossom pattern is available.
Conclusion
A printable cherry blossom stained glass pattern line art file gets you from idea to cutting table the same day, but the print step deserves as much care as the cutting step — verify scale before you trust any pattern’s dimensions, match piece count to your actual skill level, and layer your glass colors from a pale center to a deeper rose edge to capture the look real blossoms have in the light. Until a dedicated cherry blossom design joins our collection, the Camellia Stained Glass Pattern featured above uses the same petal structure and color technique covered in this guide.
Ready to start cutting? Follow our how to make stained glass step-by-step tutorial from score to finished piece, or browse the full catalog of instant-download patterns for more floral options in the meantime.