
Every stained glass piece eventually asks something of you. A suncatcher takes a hit off a shelf. A panel you made two summers ago develops a hairline crack near the corner. An inherited window has lead came so brittle it’s started to crumble at the edges. None of that means the piece is ruined — it means it’s due for a repair, and most of the fixes below are things you can do yourself with tools you probably already own.
This is a working list of the repairs that come up most often for hobbyists and small-studio glass artists: cracked or broken pieces, failed solder joints, oxidized lead came, sagging panels, and lifted copper foil. For each one, you’ll get the actual technique, not just “take it to a professional” — plus a straightforward way to tell when a piece really has outgrown a DIY fix.
✦ Key Takeaways
- Use the National Park Service’s own preservation thresholds as your decision rule: under 5% broken glass in a panel, or less than 1.5 inches of bulge, is generally still a reasonable DIY repair (NPS, Preservation Matters: Stained Glass).
- There’s no fixed “lead lasts 100 years” rule — came has been found intact after 800+ years and disintegrating within a few, depending on manufacture quality and weather exposure, so inspect on condition, not the calendar (buildingconservation.com).
- Small, contained repairs (a crack fill, a resoldered joint) typically run in the low hundreds of dollars when hired out; a full releading or restoration job climbs toward $1,500–$3,000, which is exactly the gap that makes learning basic repairs worth your time (HomeAdvisor, Fixr.com).
- 71% of U.S. adults did at least one craft project in the past year, so if you’re patching up a piece instead of replacing it, you’re doing what most makers already do (Mintel, 2025).
How to Tell If a Repair Is a DIY Job
Before you touch a soldering iron, take thirty seconds to actually assess the damage — it’s the step most people skip, and it’s the one that saves you from either babying a piece that’s genuinely fine or making a bad situation worse.
The National Park Service publishes preservation guidance for stained glass windows in historic buildings, and its thresholds work just as well for a hobby piece sitting on your workbench. A specialist condition check is recommended every 3 to 5 years, with a simple visual look-over yearly — but two numbers matter more than the schedule (NPS, Preservation Matters: Stained Glass):
Two thresholds worth remembering
- Broken glass under 5% of the panel: a targeted spot repair is reasonable. Cracked pieces, a few failed joints, minor foil lift — all fair game for the tips below.
- Bulge or warp over 1.5 inches (38mm) out of plane: this is the NPS’s own line for “get a specialist to assess it.” A panel that’s bowing that far has a structural problem, not just a cosmetic one, and pushing it flat yourself can shatter glass you were trying to save.
If your piece is under both of those lines, keep reading. If it’s over either one — or if it’s a genuinely old, leaded window with historical or sentimental weight — it’s worth at least one conversation with a restoration specialist before you start, even if you end up doing some of the work yourself.
9 Practical Tips for Repairing Stained Glass
1 Match your replacement glass to the original pattern
If a piece is fully cracked through, you’re not gluing it — you’re replacing it, and the fastest way to get a bad result is grabbing “close enough” glass off the shelf. Lay the broken piece directly on your original stained glass pattern or cartoon, trace it exactly, and hold candidate replacement sheets up to a light box next to the surrounding pieces before you cut. Texture and density matter as much as color here: two glasses that look identical in the store can throw completely different light once they’re leaded into a panel next to 20-year-old cathedral glass that’s mellowed slightly with age. If you kept the original pattern packet or downloaded one of our free printable patterns, this step takes minutes; if you didn’t, trace the opening left in the panel itself as your template instead.
2 Cut and fit the piece before you commit
Dry-fit every replacement piece before any solder touches it. Score and break (or grind) slightly oversized, then sneak up on the final fit with a grinder — our stained glass grinder guide covers wet-grinding technique if you haven’t used one before. A piece that’s even a millimeter too tight will crack again the first time the panel flexes with temperature change, which is one of the most common reasons a “repaired” panel fails again within a season.
3 Consider resin for a true hairline crack
Not every crack needs a full piece replacement. If the glass is cracked but hasn’t separated — no gap you can slide a fingernail into — a UV-curing glass resin applied thinly along the crack line can stabilize it without disassembling the panel. This is a stopgap more than a permanent fix on glass under real structural load, but for a suncatcher or a decorative panel that isn’t load-bearing, it’s often enough, and it’s reversible if you decide to replace the piece properly later.
4 Resolder a cracked joint the right way, once
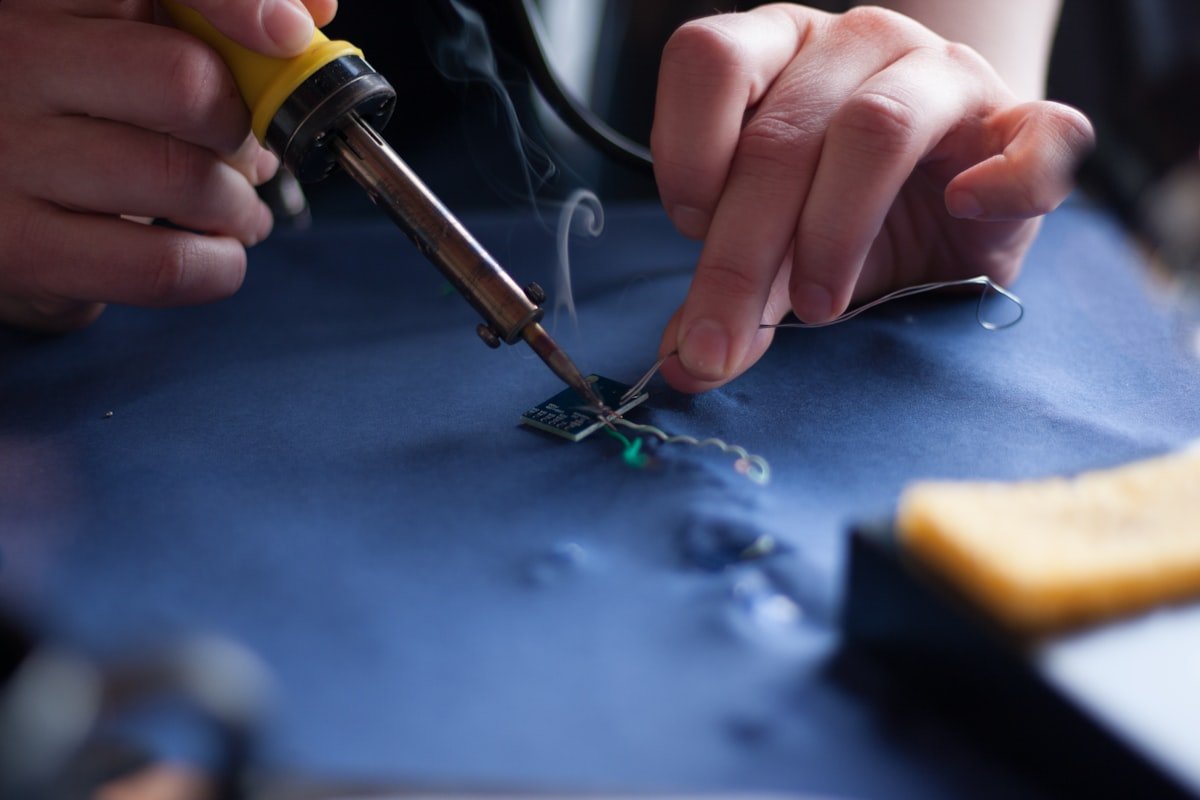
A joint that’s cracked but not fully separated usually just needs a clean reflow: flux the joint again, touch it with a hot iron until the existing solder liquefies, and let it re-bond as it cools. The mistake most people make is piling fresh solder on top of a dirty, oxidized joint instead of re-fluxing first — the new solder sits on top instead of bonding, and the repair fails again within weeks. Full resoldering jobs run about $500–$1,500 when a studio does it for you, with labor alone typically eating half to three-quarters of that bill, which tells you how much of this repair is just careful technique rather than materials cost (HomeAdvisor). If you’re still deciding on an iron for this kind of work, our soldering iron buying guide breaks down wattage and tip choices for repair work specifically.
5 Know when a joint needs rebuilding, not reflowing
If a joint has fully separated — the two pieces of came or foil have pulled apart, not just cracked — reflowing won’t hold. Clean both surfaces back to bare metal with a fiberglass brush, re-flux, and build the joint back up from scratch with fresh solder. Trying to bridge a gap with a reflow alone leaves a weak point that will open again the first time the panel is moved or the temperature swings.
6 Don’t panic over oxidized (blackened) lead came
Lead came that’s gone dull gray or black is oxidized, not necessarily failing — that’s a surface reaction, and on its own it’s cosmetic. A conservation specialist who’s examined leadwork across centuries of buildings found came that lasted 800-plus years intact right alongside came that disintegrated within a handful of years, with the difference coming down to manufacturing quality and weather exposure rather than a fixed lifespan (buildingconservation.com). That means the old “releaded every 100 years” rule of thumb isn’t something to plan around — check the came itself. If it still holds shape and doesn’t crumble when you press a fingernail into it, clean and re-cement it rather than stripping the whole panel. If it flakes or crumbles, that section needs actual releading, which is a bigger job worth researching separately before you start.
7 Brace a sagging panel before it gets worse
A panel that’s started to bow is telling you its reinforcing bars (or lack of them) aren’t doing their job anymore. For anything approaching that 1.5-inch NPS threshold, don’t try to force it flat cold — that’s how you crack three pieces trying to save one. Smaller sag can often be corrected by adding or re-securing copper wire reinforcement bars soldered across the back of the panel at the weak point. Larger jobs, where the whole came matrix has stretched, usually mean replacing structural bars outright, which averages roughly $1,850 when a studio handles it — a fair chunk of that cost is simply the careful disassembly needed to do it without breaking more glass (HomeAdvisor).
8 Reset lifted copper foil seams
Foil work fails differently than lead: instead of oxidizing, the copper foil itself lifts away from the glass edge, usually where the burnishing was rushed the first time. Gently reheat the solder seam at the lifted section, lift the bead just enough to re-press the foil flat against the glass with a burnishing tool, then re-flow the solder over it. Work in short sections — trying to fix a whole lifted edge in one pass tends to overheat the glass and crack it, especially on thinner cathedral glass.
9 Clean gently — patina isn’t always dirt
Before you reach for a strong cleaner, know what you’re looking at. A soft patina on old came or a copper foil seam is often a protective, intentional finish, not grime. Dust with a soft brush and mild soap and water first; save anything stronger for glass that’s genuinely soiled, and test it on a small, hidden area first. Aggressive cleaning is a common way people accidentally strip patina or loosen already-weak solder joints on a piece that didn’t need anything more than a wipe-down. Professional cleaning services run around $450 on average, which mostly reflects how much care goes into not damaging the piece in the process (Fixr.com).
What Stained Glass Repairs Typically Cost. lollipop data: Crack or crack-fill repair 200; Cementing / regrouting a panel 350; Professional cleaning 450; Resoldering a broken joint 1000; Partial lead came repair 1700; Reinforcing bar replacement 1850.Source: HomeAdvisor and Fixr.com contractor-quote data – typical U.S. ranges, not audited figures 2025-2026.
What Stained Glass Repairs Typically Cost
Midpoint of typical U.S. contractor-quoted range, by repair type
Crack orcrack-fillrepair
200
Cementing /regrouting apanel
350
Professionalcleaning
450
Resoldering abroken joint
1000
Partial leadcame repair
1700
Reinforcing barreplacement
1850
Source: HomeAdvisor and Fixr.com contractor-quote data – typical U.S. ranges, not audited figures (2025-2026)
DIY Fix or Call a Professional? What the Cost Gap Looks Like
The chart above is the real argument for learning these repairs yourself: a small spot fix sits at the low end of what a studio charges, while a full releading or restoration job climbs into the thousands. That gap is exactly why it’s worth building basic repair skill instead of defaulting to “call someone” for every crack.
DIY-Feasible Fix vs. Full Professional Restoration. horizontal bar data: Small DIY-feasible spot repair 65; Typical single professional repair 500; Full releading / restoration 3000.Source: HomeAdvisor and Fixr.com – Cost to Repair Stained Glass 2025-2026.
DIY-Feasible Fix vs. Full Professional Restoration
Low end of a minor spot repair vs. high end of a full releading job
SmallDIY-feasiblespot repair
65
Typical singleprofessionalrepair
500
Full releading /restoration
3000
Source: HomeAdvisor and Fixr.com – Cost to Repair Stained Glass (2025-2026)

Tools You’ll Actually Need
You don’t need a full studio setup to handle the repairs above — a glass cutter, a pair of running pliers, flux and solder, a grinder for fine-tuning fit, and a soldering iron with a reasonably fine tip cover almost everything on this list. If you’re building out a repair kit from scratch, our guides on essential glass cutting tools, choosing a grinder, and picking a soldering iron each go through what’s worth spending on and what you can skip at the hobby level.
Frequently Asked Questions
Can I repair stained glass without taking the whole panel apart?
Yes, for most of the repairs above. Spot-fixing a single cracked piece, resoldering one joint, or resetting a lifted foil seam can all be done in place. Full disassembly is really only necessary for extensive releading or when more than about 5% of the panel’s glass is broken (NPS).
Does lead came really need to be replaced every 100 years?
No — that’s a popular rule of thumb, not a fixed timeline. Conservation research has documented leadwork that stayed sound for 800-plus years right alongside came that failed within a few, with manufacturing quality and weather exposure driving the difference far more than age alone. Judge came on its actual condition — flexibility, whether it crumbles under light pressure — rather than a birthdate (buildingconservation.com).
How do I match a replacement piece to my original stained glass pattern?
Trace the broken piece (or the empty opening it left) directly from your pattern, and check the replacement glass against neighboring pieces on a light box before cutting — daylight and artificial light both, since some glass shifts color under different light sources. If you don’t have the original pattern anymore, our library of free stained glass patterns and design pattern styles is a reasonable place to reconstruct a close match.
Is it cheaper to repair a stained glass piece myself or hire it out?
Materials for most spot repairs (flux, solder, a replacement glass offcut) cost a small fraction of what a studio charges once you own the basic tools. A professional resoldering job averages around $1,000 and a full lead came repair can run $400–$3,000, largely because labor makes up 50–75% of the bill — the same labor you’re providing yourself when you do it at home (HomeAdvisor).
When should I stop and call a professional restorer?
When the panel bulges more than about 1.5 inches out of flat, when more than roughly 5% of the glass is broken, or when it’s a piece with real historical or structural significance — a church window or an antique you didn’t make yourself. Those are the National Park Service’s own preservation thresholds, and they hold up well outside historic-building contexts too (NPS).
Most stained glass damage looks worse than it is. A cracked piece, a tired joint, or came that’s gone dark with age are all normal wear on something that’s meant to be handled, moved, and lived with — not reasons to retire a piece you made or inherited. Work through the checks above, start with the smallest fix that solves the actual problem, and save the bigger interventions for panels that genuinely need them.
✦ Keep Building
- How to Make Stained Glass: A Step-by-Step Guide — for when a repair turns into “I should just build a new one”
- 5 Stained Glass Design Patterns to Try Next
- Stained Glass Suncatchers: How to Make Your Own
One Response