
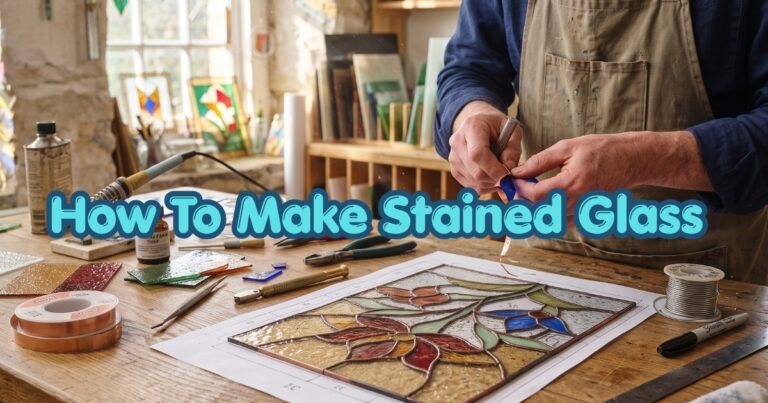
The global arts and crafts market grew to an estimated $50.7 billion in 2026, up from $47.35 billion the year before (The Business Research Company, 2026). Stained glass sits inside that growth as one of the more approachable “hard skill” crafts: it looks intimidating from the outside, but the copper foil method used by most modern hobbyists breaks down into a short, repeatable sequence of steps.
This guide walks you through making a simple stained glass panel from a blank sheet of glass to a finished, hangable piece, using the copper foil method preferred by most beginners over traditional lead came. You’ll learn what tools you actually need (and what you can skip at first), how to cut and grind glass safely, how to foil and solder a clean seam, and the mistakes that cause most first panels to fail.
Key Takeaways
- The copper foil method (not lead came) is the standard starting point for beginners because it handles tight curves and doesn’t require melting lead.
- A basic beginner tool kit (cutter, pliers, grinder, foil, iron, solder) typically runs from around $150 to $400 depending on whether you buy a grinder or rent studio time.
- Soldering produces rosin flux fumes; ACGIH recommends a threshold limit value of 0.1 mg/m³ for these fumes, so ventilation isn’t optional (UNC Environment, Health & Safety).
- Grinding every cut edge before foiling is a step some beginners skip, and instructors commonly cite it as a frequent cause of gappy, weak solder seams.
- Expect your first panel to take 3-5 hours including drying/cleanup time, not counting pattern selection.
What You’ll Need Before You Begin To Know How To Make Stained Glass
Difficulty: Beginner
Estimated time: 3-5 hours for a first small panel (roughly 6-12 inches)
Tools:
- Glass cutter (pistol-grip or pencil-style)
- Cutting oil (many cutters are self-lubricating; check yours)
- Running/breaking pliers (grozing pliers)
- A glass grinder with a diamond bit, or fine-grit hand pads as a manual alternative
- Copper foil tape (7/32″ width is a common all-purpose start)
- A fid or burnishing tool
- A soldering iron (temperature-controlled, roughly 700-800°F / 370-425°C tip temp for stained glass)
- 60/40 or 63/37 solder
- Flux and a flux brush
- Safety glasses, cut-resistant gloves, and a well-ventilated work area or fume extractor
- A simple pattern printed at full size
- Cardboard or a pattern-cutting shears (regular scissors will dull on glass-adjacent work)
Typical beginner budget: A basic starter kit (cutter, pliers, foil, iron, solder, flux, safety glasses) commonly runs $150-$250 at craft/hobby retailers; adding a bench grinder pushes that closer to $300-$400. These are practical retail-range estimates from current craft-supply listings, not a single audited statistic, so treat them as planning guidance rather than a fixed price.
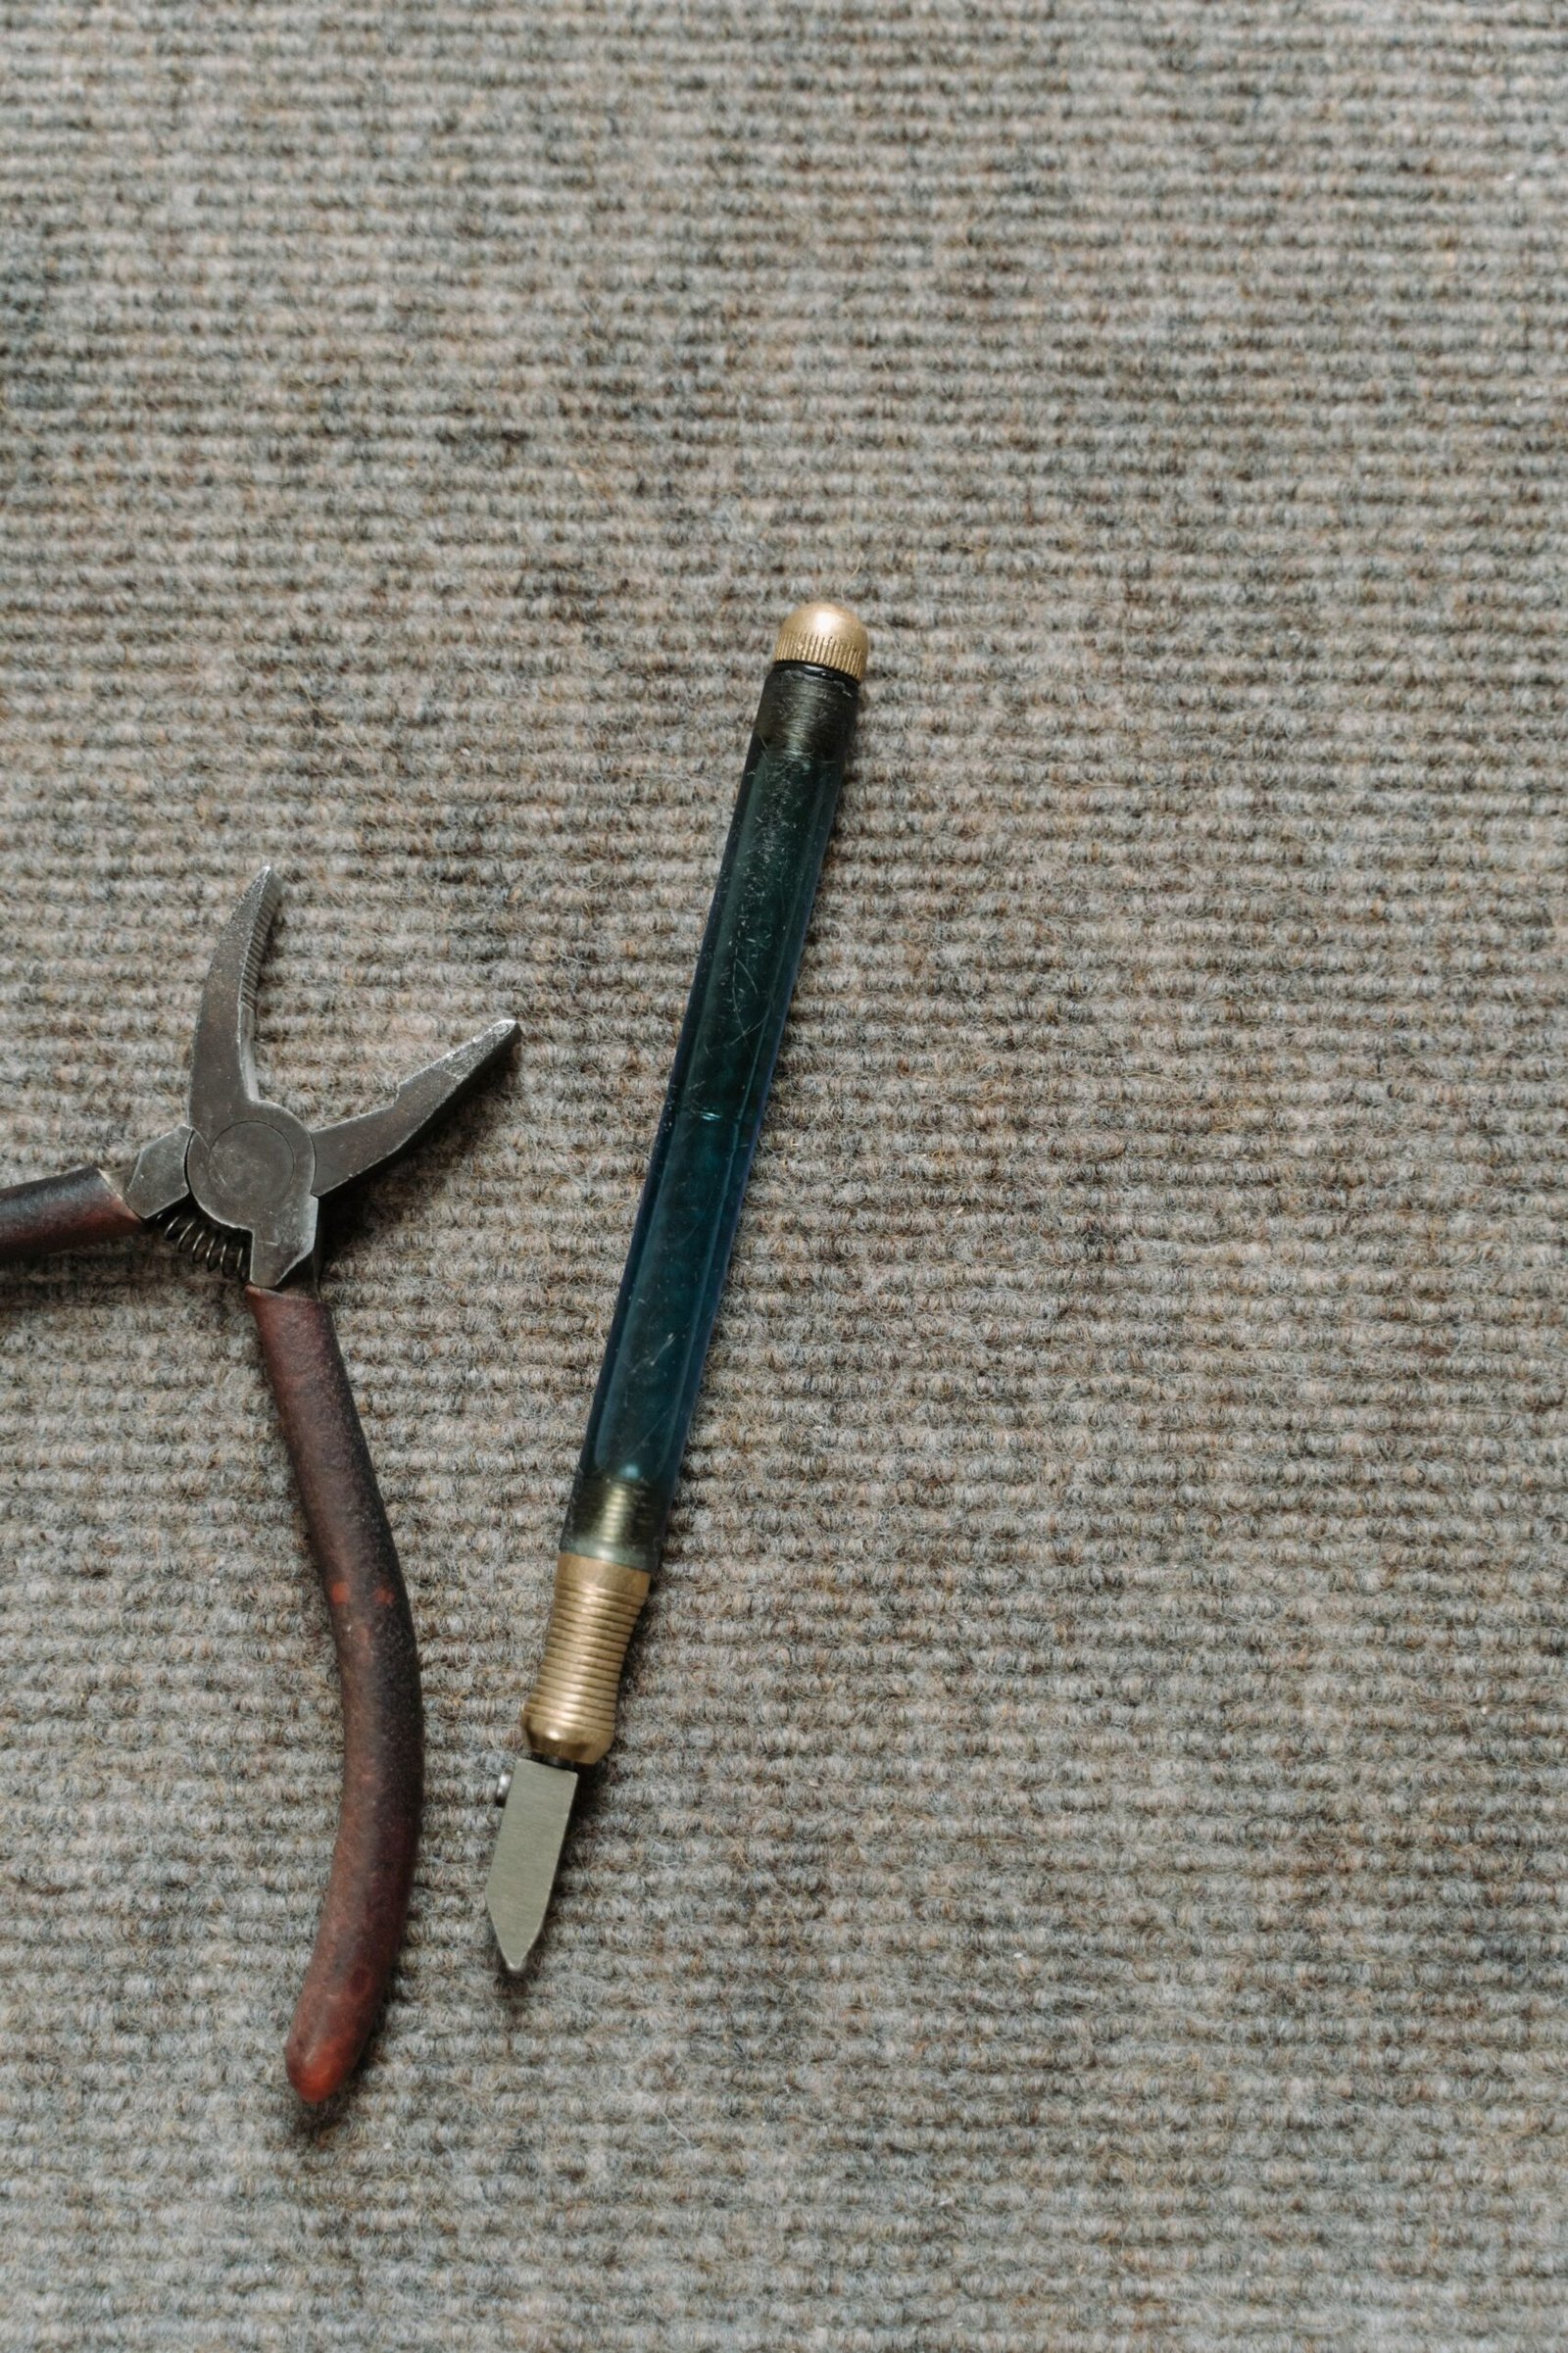
Step 1: Choose a Simple Satined Glass Pattern and Prepare Your Glass
By the end of this step, you’ll have a full-size pattern taped down and your glass sheets chosen and staged by color.
Pick a pattern with fewer than 15 pieces and mostly straight lines or gentle curves for your first project — a sun catcher, simple geometric panel, or a single flower shape all work well. Stained glass instructors commonly point to complex curves and tight inside corners as a frequent cause of broken glass for first-time cutters, so save those for panel two or three.
- Print or trace your pattern at full size and number each piece.
- Lay out your glass sheets by color and hold each section of the pattern against the glass to check how the color and texture read in light.
- Cut out a paper or cardstock template for each numbered piece so you can trace directly onto the glass.
Verification: You should now have a full set of paper templates, each numbered to match your master pattern, ready to trace.
Step 2: Cut the Glass Pieces
By the end of this step, you’ll have every piece of your pattern cut from glass and roughly matching its template.
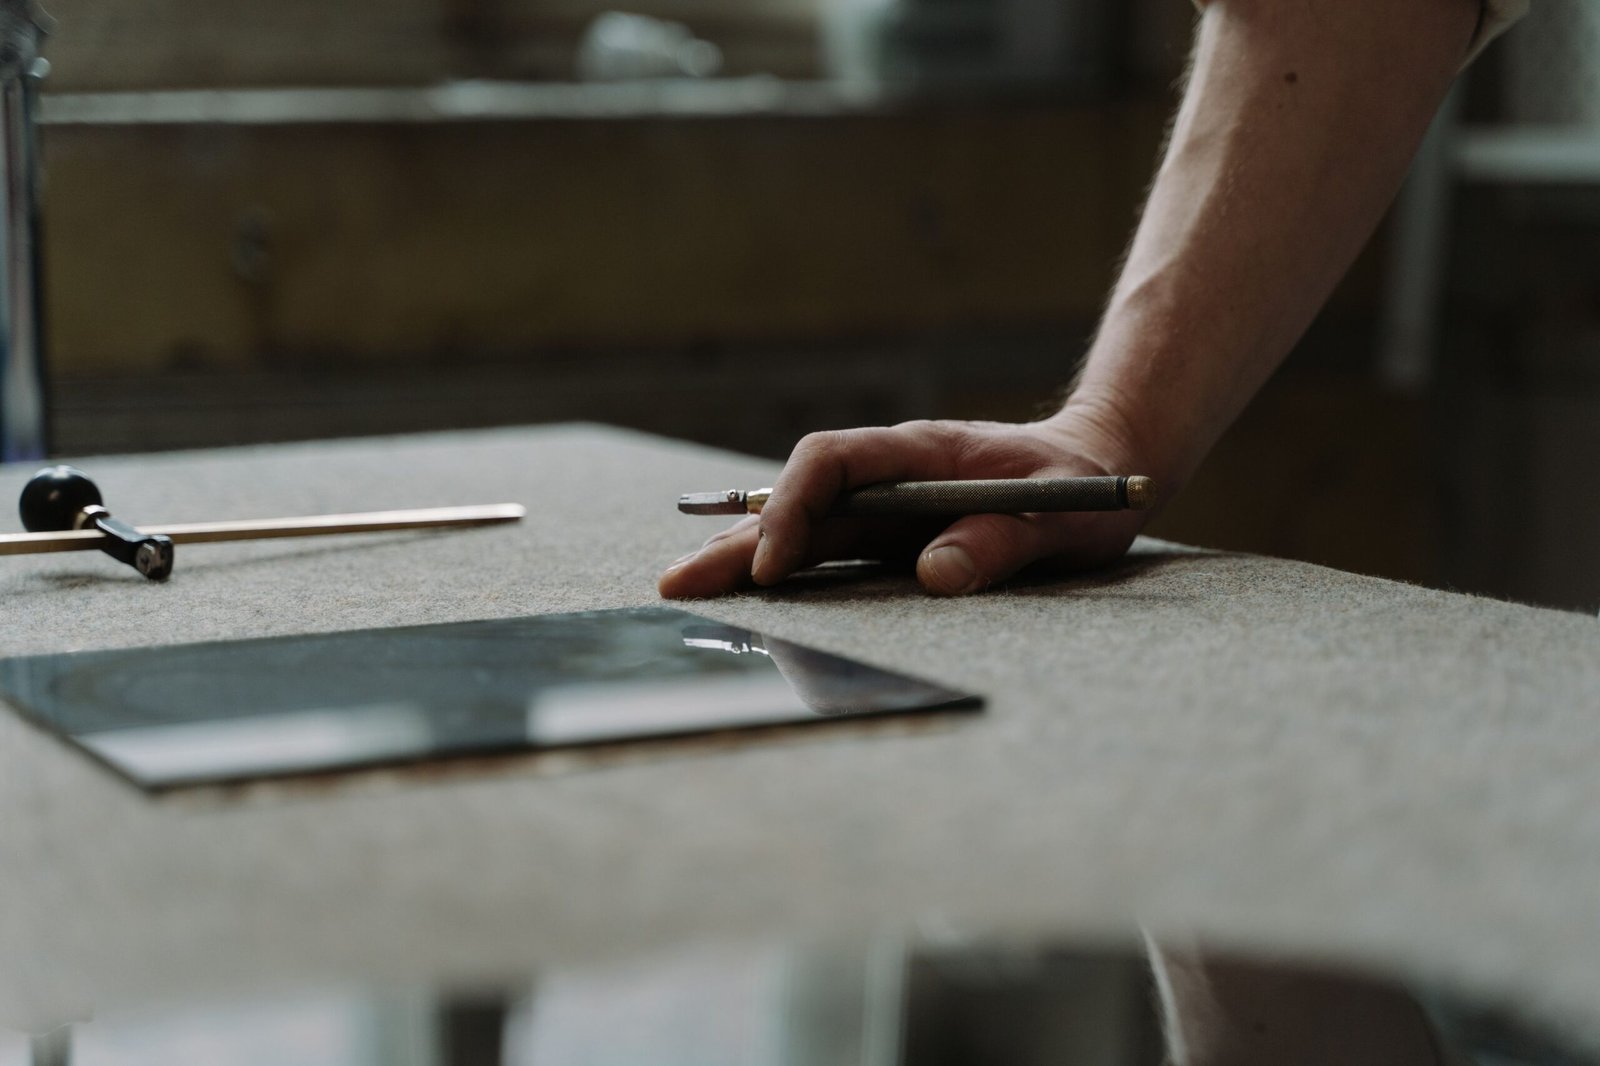
Cutting glass isn’t about pressing hard; it’s about a single, confident score line that lets the glass break along a predictable fracture.
- Trace the template onto the glass with a fine marker.
- Hold the cutter at a consistent angle (roughly 90° to the glass) and score in one continuous pass, applying light, even pressure. Never go back over a score line twice.
- Immediately after scoring, use the running pliers to apply even pressure along the score until the glass separates.
- For curved cuts, make small relief cuts first, then remove small sections at a time rather than trying to follow the whole curve in one score.
Verification: Each piece should roughly match its paper template. Minor oversizing is fine (the grinder fixes that); undersized pieces mean you’ll need to recut.
For glass and glass-product manufacturing workers overall, BLS recorded 3.5 total recordable nonfatal injury and illness cases per 100 full-time workers in 2021, the most recent year with a comparable published breakdown for this industry code at time of writing (U.S. Bureau of Labor Statistics). That’s industrial-scale manufacturing data, not hobbyist data specifically, but it’s a reasonable reminder that cut-resistant gloves and safety glasses aren’t optional at the cutting table.
Step 3: Grind and Smooth the Edges
By the end of this step, every glass piece will have smooth, slightly frosted edges that fit its template precisely and are ready for foil.
Grinding does two jobs: it removes sharp edges and micro-chips left by cutting, and it fine-tunes each piece’s final size and fit against its neighbors.
- Run each edge lightly against the grinder bit, keeping the piece moving so you don’t grind a flat spot or divot.
- Check fit against the paper pattern and neighboring pieces frequently rather than grinding the whole edge at once.
- Rinse and dry each piece after grinding — grinding produces glass slurry that will interfere with foil adhesion if left on the glass.
Verification: Edges should feel smooth (not sharp) to a light touch through a glove, and pieces should sit tightly against their pattern neighbors with minimal gaps.
A labeled side-view diagram of the correct edge angle against the grinding bit communicates this step more usefully than a photo, since the moment of contact is hard to capture safely on camera.
Step 4: Wrap Pieces in Copper Foil
By the end of this step, every piece will have a clean, centered strip of copper foil wrapped around its full edge, ready for soldering.
Foil width matters: too narrow and it won’t fully cover the edge for soldering; too wide and you’ll get thick, clumsy seams. 7/32″ foil is the standard starting width for most small-to-medium projects.
- Peel back a short length of foil backing and center the piece’s edge on the sticky side.
- Wrap the foil evenly around the full edge, keeping equal overlap on both the front and back faces of the glass.
- Use a fid (burnishing tool) to press the foil flat and smooth against both glass faces, eliminating air bubbles and wrinkles.
Verification: Every edge should be fully covered in foil with no visible glass showing, and the foil should be pressed flat with no lifted corners.
A simple cross-section illustration showing foil wrapped around both glass faces communicates the wrap technique more clearly than a photo angle can.
Step 5: Flux and Solder the Seams
By the end of this step, every foiled seam on the front, back, and edge of your panel will be covered in a smooth, slightly domed bead of solder.
Solder needs flux to bond properly to copper foil, and it needs heat control to flow instead of forming cold, bumpy beads.
- Assemble your pieces on the pattern and use pins or “third hand” clamps to hold them in place temporarily.
- Brush flux along each foiled seam just before soldering it, working in small sections rather than fluxing the whole piece at once.
- Tack-solder the pieces together at a few key points first to lock the layout, then run a full bead along every seam on the front side.
- Flip the panel and repeat on the back, then run a bead along all outer edges.
Verification: Seams should be smooth and slightly domed, not flat or bumpy, and every intersection where three or more pieces meet should be fully filled.
Soldering rosin-core flux releases fumes that ACGIH recommends limiting to a threshold value of 0.1 mg/m³ (UNC Environment, Health & Safety); a fume extractor or simply working near an open window with airflow away from your face is the standard mitigation. If you ever switch to lead came instead of copper foil, note that OSHA’s permissible exposure limit for airborne lead is 0.05 mg/m³ as an 8-hour time-weighted average (OSHA) — a separate and stricter threshold, since lead came work involves handling lead metal directly rather than just flux fumes.
OSHA’s permissible exposure limit for airborne lead is 0.05 mg per cubic meter as an 8-hour time-weighted average. ACGIH’s recommended threshold limit value for rosin-based solder flux fume (colophony) is 0.1 mg per cubic meter. These measure two different substances under two different bodies and are shown together only for workshop safety reference.
Workshop Air Exposure Limits (mg/m3)
Two different regulated substances – not directly comparable 1:1
OSHA Lead PEL(8-hr TWA)
0.05
ACGIH Rosin FluxTLV
0.1
Source: OSHA Standard Interpretation; UNC Environment, Health & Safety (2026)
Step 6: Clean, Patina, and Add a Hanging Loop
By the end of this step, your panel will be cleaned of flux residue, finished with either a bright metal or black/copper patina look, and ready to hang.
- Wash the panel with a flux-neutralizing cleaner or mild soap and water to remove all flux residue, which is corrosive if left on the solder long-term.
- Dry thoroughly, then apply patina (if desired) with a cotton pad, following the product’s ventilation and glove guidance.
- Solder a small copper wire loop or attach a pre-made hanging ring to the top edge for display.
- Buff with a soft cloth once patina has set and dried.
Verification: The panel should be clean, free of white flux haze, evenly patinated (if used), and secure enough at the hanging point to support the panel’s weight without stress on a single solder joint.
Common Mistakes to Avoid
1. Skipping the grinding step. New makers often assume a “close enough” cut is fine and skip straight to foiling. Rough, unground edges create gaps that foil can’t seal cleanly, which craft instructors commonly link to weak, bumpy solder joints. Grind every edge, even ones that look fine.
2. Using the wrong foil width for the glass thickness. Foil that’s too narrow leaves glass exposed at the seam; too wide adds bulk and makes fine detail work sloppy. Match foil width to your glass thickness and project scale, and size up only for thicker or specialty glass.
3. Soldering without enough flux. Cold, dull, bumpy solder joints are almost always a flux problem, not a heat problem. Flux each section immediately before soldering it rather than fluxing the whole piece up front, since flux evaporates.
4. Rushing pattern and color selection. Glass artists frequently advise against committing to a color before checking it against actual daylight rather than just studio lighting, since glass color and texture can look noticeably different once installed. Hold every piece up to a window or natural light source before final cutting.
5. Ignoring ventilation during soldering. Treating flux fumes as a minor inconvenience rather than a real exposure risk is common among first-timers. Work near open airflow or a fume extractor, and keep your face out of the direct fume column, in line with ACGIH’s recommended threshold for rosin flux fume exposure.
Copper Foil vs. Lead Came: Which Should You Learn First?
Most beginners should start with copper foil, and most existing guides treat this as a separate topic instead of folding it into the decision you’re actually making on project one.
| Copper Foil | Lead Came | |
|---|---|---|
| Best for | Small to medium panels, curves, fine detail (sun catchers, lamps) | Large flat panels, windows, repeating geometric grids |
| Startup tool cost | Lower (no lead pot, no came pliers/stretcher) | Higher upfront, but came is cost-efficient per square foot on large panels |
| Skill curve | Faster to a first finished piece | Steeper initial learning curve for fitting and stretching came |
| Material handled directly | Copper tape + tin/lead solder at seams only | Solid lead (or zinc/brass) came throughout the whole piece |
| Typical first project | Sun catcher, small panel, jewelry-scale pieces | Larger window panels once foil skills transfer |
This is a qualitative, practitioner-consensus comparison drawn from multiple independent stained glass educators and suppliers rather than a single audited dataset, since no vendor publishes standardized cost-per-project figures for both methods (Hollander Fusing Center; The Glass Creative).
Craft Market Growth, 2025-2026. grouped bar data: Global Arts & Crafts Market: 2025 47.35, 2026 50.7; US Online Hobby & Craft Supplies: 2025 24.96, 2026 25.3.Source: The Business Research Company; IBISWorld 2026.
Craft Market Growth, 2025-2026
Global arts & crafts vs. US online hobby supply sales ($ billions)
2025
2026
Global Arts& CraftsMarket
US OnlineHobby &Craft…
Source: The Business Research Company; IBISWorld (2026)
Context worth noting: the craft retail landscape shifted materially in 2025 when Joann Fabrics, a major US craft retailer, filed for Chapter 11 bankruptcy in January 2025 and closed all roughly 800 of its US stores by that May after liquidator GA Group acquired its assets (Axios; Houston Public Media/NPR). Practically, that means more stained glass hobbyists are sourcing tools and glass online or through specialty suppliers rather than big-box craft chains.
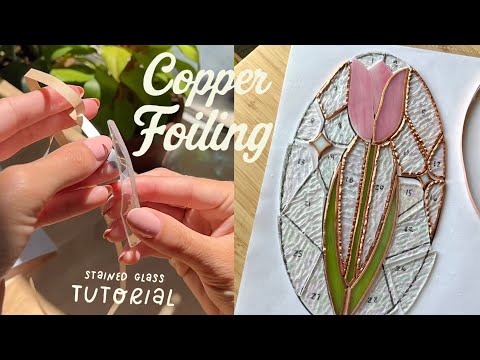
Watch: Copper Foiling in Action
Results: What Success Looks Like
If everything went correctly, you should now have a finished panel with fully soldered, smooth seams on both the front and back, no exposed glass edges, and a secure hanging point. Hold it up to a light source: you should see even light transmission through each piece with no visible gaps at the seams.
Once you’re comfortable with a small panel like this, a natural next step is a slightly larger design with more pieces, or your first attempt at a project that mixes copper foil detail work with a lead came border.
Frequently Asked Questions
How much does it cost to start making stained glass?
A basic beginner kit (cutter, pliers, foil, iron, solder, flux, and safety glasses) typically costs $150-$250 at current craft-retail pricing; adding a bench grinder brings that closer to $300-$400. Studios that rent bench time and a shared grinder can lower the upfront cost significantly for your first few projects.
Is stained glass hard to learn?
The core skills (scoring glass, grinding, foiling, and soldering) are each learnable in a single afternoon session, but building consistent muscle memory for clean cuts and smooth solder beads typically takes several small projects. Beginner-class instructors commonly report that most students finish a small, simple panel within their first sitting.
Can I use a regular glass cutter, or do I need a specific brand?
Any dedicated glass cutter (not a utility knife or generic craft blade) will score glass; pistol-grip cutters are generally easier for beginners to control than pencil-style cutters. What matters more than brand is keeping the wheel oiled or self-lubricating and replacing it once scores stop “singing” cleanly.
Should I learn copper foil or lead came first?
Copper foil, for nearly all beginners. It has a lower upfront tool cost, handles curves and detail better, and doesn’t require handling solid lead the way came work does. Move to lead came once you want to build larger, flatter panels where came’s cost-efficiency per square foot starts to matter.
What should I do if my solder joints come out bumpy or cold?
Bumpy or dull (“cold”) joints are almost always a flux or heat-control issue rather than a technique failure. Re-flux the joint, make sure your iron tip is at proper stained-glass soldering temperature, and re-run the bead in one smooth pass rather than dabbing at it repeatedly.
Conclusion
You now have a complete path from a blank sheet of glass to a finished, hangable stained glass panel: pattern selection, cutting, grinding, foiling, soldering, and finishing. The copper foil method you just learned is the same foundation used for far more ambitious projects, including lamps, larger windows, and mixed-technique panels that combine foil detail with lead came borders.
Start with a small, simple pattern, budget for the $150-$250 starter kit range, and don’t skip the grinding step. Once you’re ready for a second project, move on to a slightly more ambitious pattern, and keep a safety checklist handy for your next soldering session.
8 Responses