
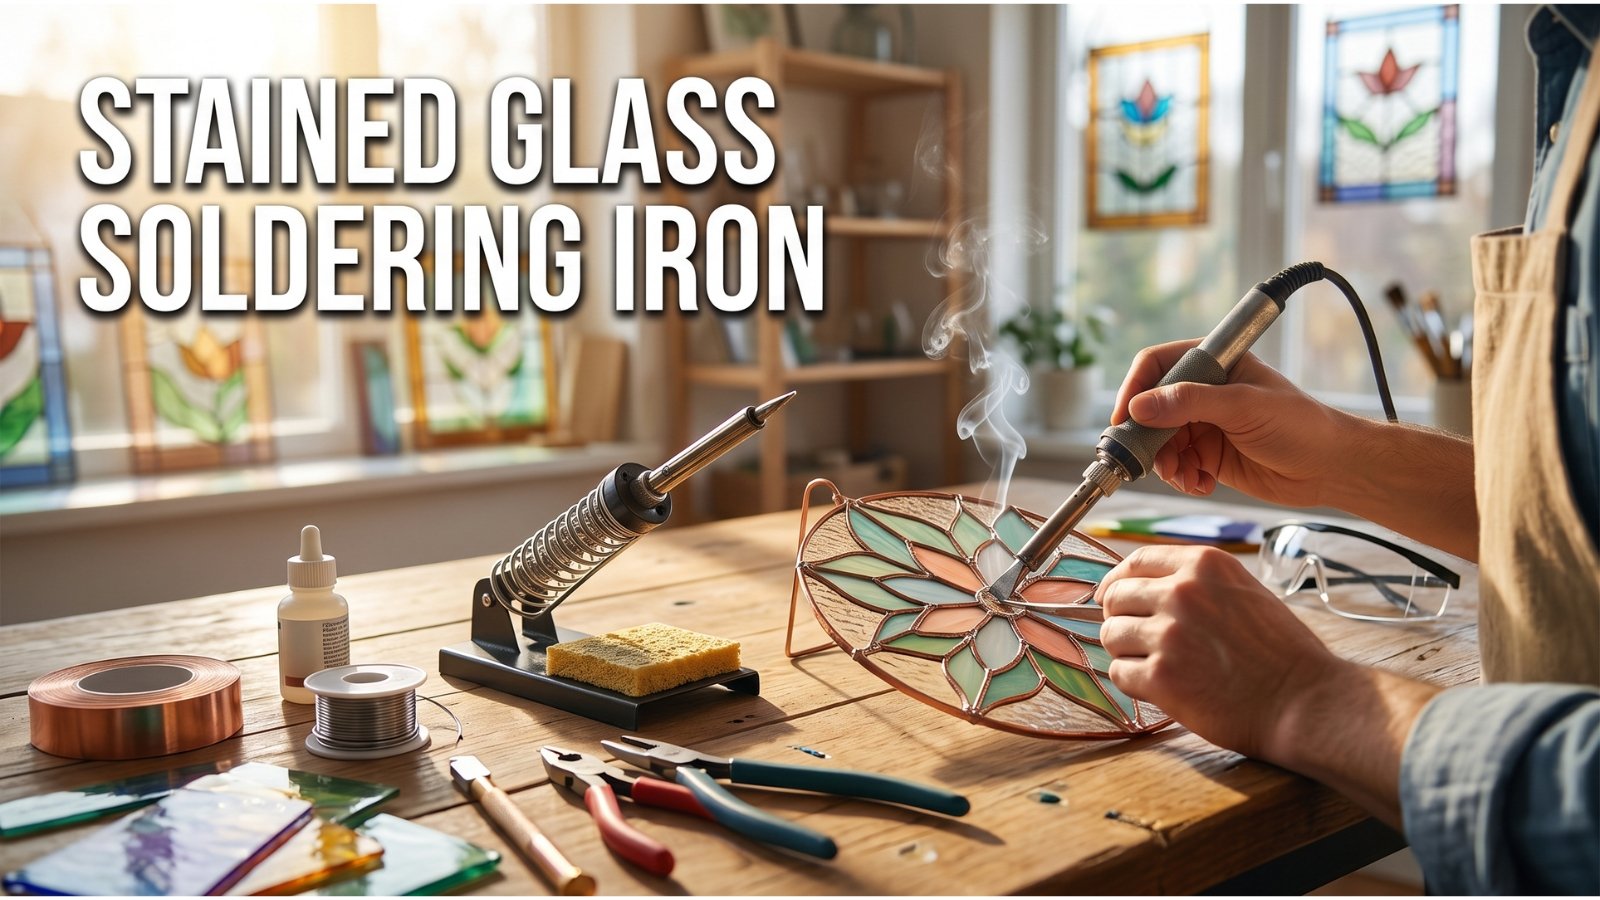
The soldering iron is the one tool on a stained glass bench you can’t work around. You can hand-pad instead of grinding, and you can borrow a pattern instead of drawing your own. There’s no substitute, though, for laying a clean bead of solder over foiled copper seams. The iron you’re holding decides whether that bead flows smooth and shiny or drags, pits, and cools into a grainy mess. Most beginners don’t fail at soldering because of bad technique. They fail because they’re using a $12 electronics iron that can’t hold 700°F once it touches cold copper.
This guide covers what actually separates a working stained glass soldering iron from a hobby electronics iron. It also covers the lead and flux-fume safety habits that matter more than most beginners realize, and what a realistic budget looks like at each tier. If you haven’t foiled a piece yet, see our complete copper foil method walkthrough first — this guide assumes you already know why the iron matters and just need to buy the right one.
Key Takeaways
- A dedicated stained glass soldering iron needs to hold a steady 700-800°F at the tip through a full seam — 80W is the practical floor, and 100W gives you margin on long runs.
- Adjustable, digitally-displayed temperature control matters more than raw wattage once you’re past the entry tier — it’s what keeps a bead from scorching flux or dragging cold.
- OSHA’s lead standard (29 CFR 1910.1025) sets an 8-hour permissible exposure limit of 50 µg/m³ in air, with an action level of 30 µg/m³ — 60/40 solder is a lead alloy, and hand hygiene after soldering isn’t optional (OSHA).
- Rosin-based flux fume (colophony) is a recognized cause of occupational asthma, with an estimated 4-20% of regularly exposed workers developing symptoms over time — ventilate the area you solder in (UK HSE, INDG249).
- A basic entry-tier iron runs $20-40; a mid-range adjustable digital station lands around $50-90; premium ESD-safe stations with fine temperature control run $150 and up, based on current retailer listings.
Why Your Electronics Iron Won’t Cut It
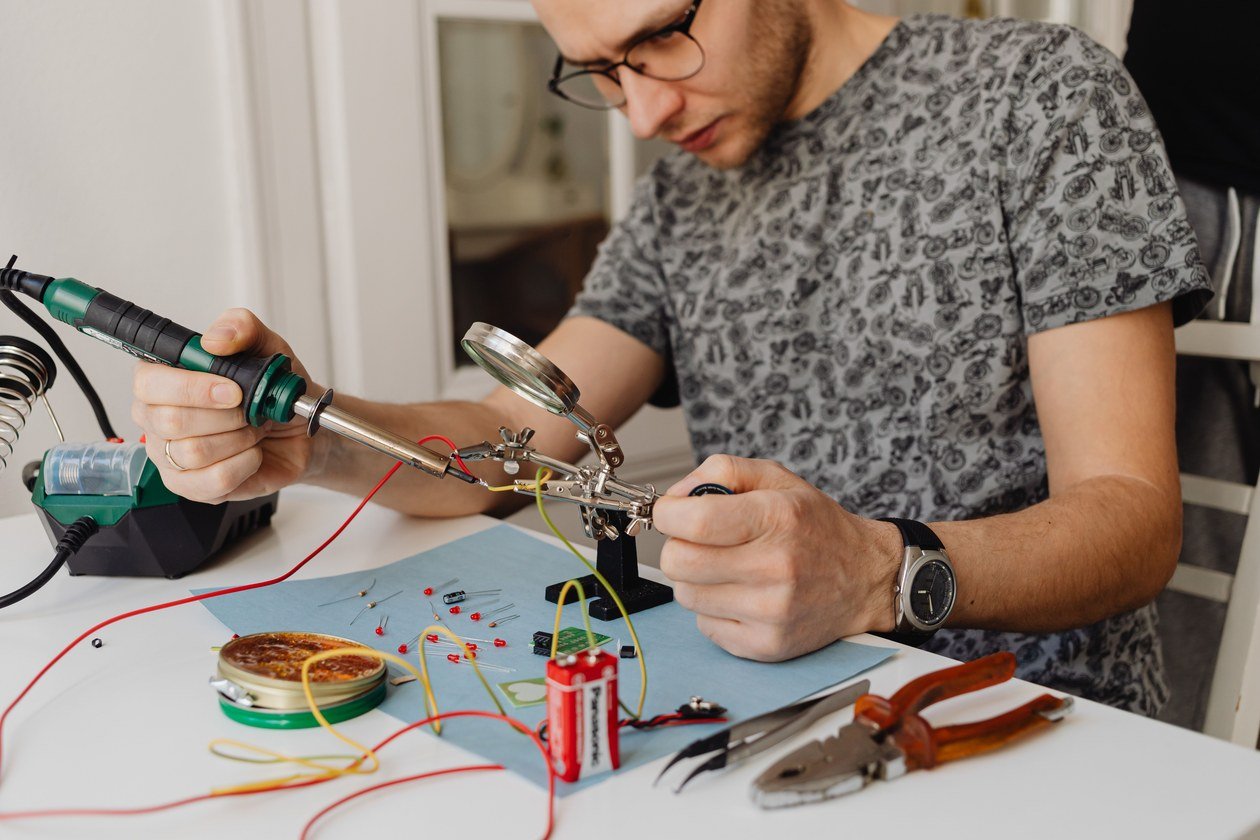
If you’ve ever tried to solder a stained glass seam with a 25-30W pencil iron from an electronics kit, you already know the problem. The tip touches the copper foil, the temperature crashes, and the solder either balls up and refuses to flow or takes so long to melt that you’ve scorched the flux by the time it does. Electronics soldering is small, precise joints on a circuit board that pull heat away slowly. Stained glass soldering is different: you’re dragging a bead continuously along inches of copper-clad lead came or foil, a much bigger and faster heat sink. A low-wattage iron simply can’t recover fast enough to keep up.
A dedicated soldering iron for stained glass is built around sustained heat, not precision tip control. That’s the entire design difference: bigger heating elements and chunkier barrel-style tips instead of fine points. On anything above entry level, it also means a thermostat that actively holds temperature, instead of just letting the element run hot and cool passively between contacts. None of this shows up if you only glance at wattage on a spec sheet, which is why the next section matters more than the price tag.
The Specs That Actually Matter When Buying a Stained Glass Soldering Iron
Three things decide whether a stained glass soldering iron performs well on a real panel, and none of them is the brand name on the box.
Wattage. For 60/40 solder — the standard alloy for copper foil and lead came work — you want the iron holding roughly 700-800°F (370-425°C) at the tip continuously. Below 80W, most irons can’t sustain that across a long seam without the tip temperature sagging (ArtGlassSupplies; Stained Glass Toolbox). 100W is the more comfortable number if you’re working larger panels or doing production-level runs, since the extra headroom means the iron recovers between passes instead of falling behind. These figures come from stained glass technique guides and retailer buying guides rather than a lab-tested standard, so treat them as practical shopping references.
Adjustable temperature control. A fixed-temperature iron is fine for your very first small project, but it’s a blunt instrument — too hot for delicate lead work, not hot enough for thick beads on vertical seams, with no way to dial it in either direction. Once you’re doing more than one type of joint, a digital, adjustable-temperature iron earns its price difference fast. Look for a display that shows both the set point and the actual tip temperature, not just a dial with no numbers on it.
Tip type and interchangeability. Stained glass irons typically ship with a wide, chisel-style tip rather than the fine conical tips used in electronics work, because you’re dragging a bead rather than touching down at a single point. Confirm replacement tips are actually available for the model before you buy — a great iron with a proprietary, discontinued tip is a dead end in eighteen months.
Lead Safety When Soldering Stained Glass
Standard 60/40 solder — 60% tin, 40% lead — is still the default alloy for copper foil and came work because it flows and beads more forgivingly than lead-free alternatives, but it means every soldering session puts you in contact with a lead-based material. OSHA’s general industry lead standard (29 CFR 1910.1025) sets a permissible exposure limit of 50 micrograms of lead per cubic meter of air, averaged over an 8-hour period, with a lower action level of 30 µg/m³ that triggers additional monitoring in covered workplaces (OSHA). That standard is written for industrial settings, not hobby studios, but the underlying hazard — lead dust and residue transferring from hands to face, food, or fabric — doesn’t disappear because you’re working at home.
CDC’s blood lead reference value, used to flag elevated exposure, currently sits at 3.5 µg/dL, updated in 2021 from NHANES data covering the general U.S. population (CDC). For context, the general adult population’s geometric mean blood lead level runs closer to 0.7-0.9 µg/dL, according to 2017-2018 NHANES sampling — a reminder that background exposure is normally low, and the goal of good studio habits is keeping it that way rather than reacting to a problem after it shows up.
None of this means soldering stained glass at home is dangerous when done with basic care. It means the habits are non-negotiable: wash your hands with cool water and a dedicated soap before you eat, drink, or touch your face; never eat or smoke at the bench; and wipe down your work surface rather than dry-sweeping it, since dry sweeping just moves lead dust into the air instead of removing it. If you want a genuinely lead-free workflow, lead-free solder alloys exist, though they typically need a hotter iron and take more practice to bead evenly.
Flux Fumes Are the Hazard Beginners Skip
Lead gets most of the safety attention in stained glass circles, but the fume rising off your stained glass soldering iron every time it touches flux deserves just as much respect. Rosin-based flux — the standard type used with 60/40 solder — releases a fume called colophony when heated, and the UK’s Health and Safety Executive names rosin-based solder flux fume as one of the most significant causes of occupational asthma in Britain. Depending on the literature reviewed, an estimated 4% to 20% of workers regularly exposed to the fume develop symptoms, and once the asthmatic response is fully established, it’s typically permanent (UK HSE, INDG249).
That data comes from industrial electronics assembly lines running far more soldering hours than a hobbyist ever will, so the absolute risk from an occasional evening at the bench is much lower. But the mechanism doesn’t care about your hobby status — it’s cumulative exposure to the fume itself. A small fan pointed to pull fumes away from your face, a window cracked open, or a dedicated fume extractor if you solder regularly are cheap, permanent fixes. The cheapest fix of all is simply not leaning directly over the iron while you work, which is a habit worth building from your very first project.
Burn Safety at the Iron
A hot tip and molten solder are the more obvious hazard, and it’s worth taking seriously precisely because it’s so easy to get casual about. The American Burn Association’s most recent incidence data puts total U.S. burn injuries requiring medical treatment at roughly 486,000 a year. The same fact sheet cites CDC emergency department data recording about 252,000 injuries specifically from hot objects or substances — the category a soldering iron falls into, as opposed to flame or scald injuries — and notes that 61% of burn incidents happen at private residences, not workplaces (American Burn Association, Burn Incidence Fact Sheet, citing CDC data). That residential share is a useful reminder: soldering at your kitchen table doesn’t make the hazard smaller.
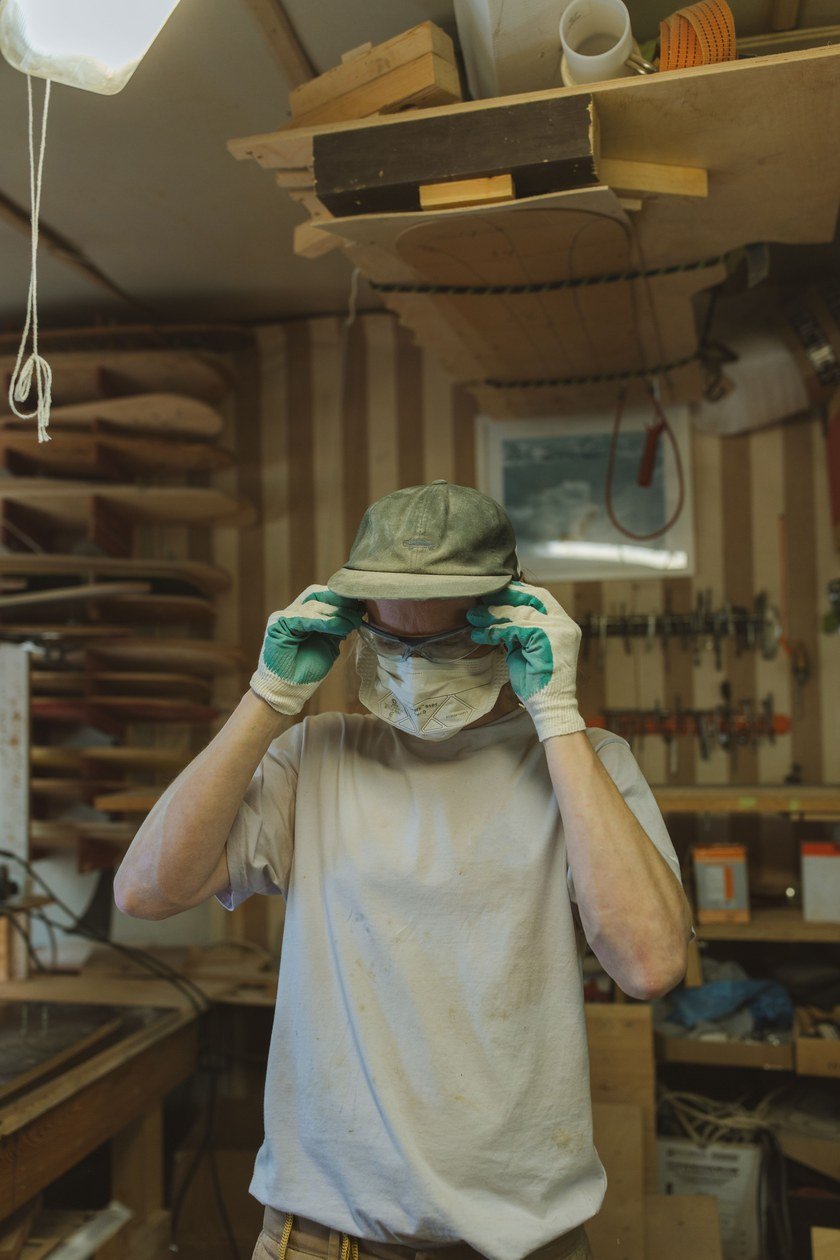
A few habits cover most of the realistic risk: always set the iron in a proper stand between passes rather than balancing it on the bench edge, keep the cord routed away from where your free hand naturally rests, and treat the tip as hot for a full minute or two after you switch the iron off — ceramic heating elements hold residual heat longer than the glow tells you.
Our Pick · Affiliate Link
YIHUA 928D-III Adjustable Temperature Soldering Iron
A 110W digital station with a 194-896°F adjustable range, ceramic heating element, and a display that shows both set and actual tip temperature — enough headroom to hold steady heat through a full seam without the guesswork of a fixed-temperature iron. Ships with an iron tip and brass wool for tip cleaning.
Check Current Price on AmazonDisclosure: that’s an affiliate link. If you buy through it, we may earn a small commission at no extra cost to you. See our full affiliate and third-party disclosure for details.
How to Choose a Stained Glass Soldering Iron by Budget
Entry ($20-40): A basic fixed-temperature iron, usually under 40W. Fine for a first small project or two, but you’ll outgrow it the moment you try a full panel — it’s the same trap as trying to learn on a tool that’s actively working against you.
Mid-range ($50-90): An adjustable, digitally-displayed soldering iron for stained glass in the 60-100W range, like the pick above. This is where most makers land once they’re doing more than one project a month, and it’s the tier that actually solves the “electronics iron can’t keep up” problem.
Premium ($150+): ESD-safe soldering stations with finer temperature stability, interchangeable tip systems, and often a separate stand with sponge and brass-wool cleaning built in. Worth it once you’re running a working studio or teaching, where consistency across many hours matters more than sticker price.
| Tier | Typical Cost | What You Get |
|---|---|---|
| Entry | $20-40 | Fixed temperature, under 40W, single fixed tip |
| Mid-range | $50-90 | Adjustable digital temperature, 60-100W, replaceable tips |
| Premium | $150+ | ESD-safe station, fine temperature stability, interchangeable tip system |
Common Mistakes When Buying or Using a Soldering Iron for Stained Glass
1. Buying an electronics iron because it’s cheaper. It isn’t cheaper once you count the ruined beads and the hours spent fighting a tool that can’t hold temperature. Spend the extra $15-20 up front.
2. Ignoring the temperature display. If a listing doesn’t mention adjustable temperature or show a digital readout, assume it’s fixed-temperature — and fixed-temperature irons offer no way to correct for a bead that’s dragging or scorching.
3. Skipping ventilation because “it’s just a small project.” Rosin flux fume exposure is cumulative. The habit matters more than the project size.
4. Setting the iron down on the bench instead of a stand. It takes one distracted moment for a bare iron rolling across the table to become a burn or a scorched project.
5. Never washing hands before eating at the bench. This is the single easiest lead-safety habit to build and the one most beginners skip entirely in their first few months.
Frequently Asked Questions
Can I use a regular electronics soldering iron for stained glass?
Not comfortably. Most electronics irons run 15-40W, which isn’t enough sustained heat for dragging a bead along copper foil seams — the tip temperature crashes on contact and can’t recover fast enough. You can technically melt solder with one, but you’ll fight dragging, grainy beads the entire time.
What wattage soldering iron do I need for stained glass?
80W is the practical minimum for holding a steady 700-800°F tip temperature through a full seam. 100W gives more margin, especially on larger panels or thicker lead came work, since the extra power means the iron recovers faster between passes.
Is 60/40 solder dangerous to use at home?
Not with basic precautions. It’s a lead alloy, so OSHA’s lead standard and general lead-safety practice apply: wash your hands before eating or touching your face, don’t eat at the bench, and wipe down the work surface rather than dry-sweeping it. Lead-free alternatives exist if you want to avoid the alloy entirely, though they typically need a hotter iron.
Do I need special ventilation just to solder stained glass at home?
You don’t need an industrial fume extraction system for occasional hobby soldering, but some airflow matters. Rosin flux fume is a recognized respiratory hazard with cumulative exposure risk, so a fan directing fumes away from your face or a cracked window is a reasonable minimum, and a dedicated fume extractor is worth it if you solder regularly.
Is the YIHUA 928D-III a good first stained glass soldering iron?
It covers the two fundamentals that matter most for stained glass work — adjustable temperature up to a range well past what 60/40 solder needs, and enough wattage (110W) to hold that heat through a full seam — without asking a beginner to pay premium-station prices.
Conclusion
The wattage number on the box matters less than whether the iron can actually hold 700-800°F through a real seam, and that comes down to sustained power and, ideally, adjustable digital temperature control rather than a fixed setting. Budget an entry-tier iron only if your very next project is small; move to a mid-range adjustable stained glass soldering iron the moment you’re doing more than one panel a month. Treat 60/40 solder’s lead content and rosin flux fume with the same basic respect you’d give any studio hazard — hand hygiene, some airflow, and a proper stand for the iron cover almost all of the realistic risk.
Ready to put a soldering iron to work on your next panel? Follow our complete copper foil method walkthrough from score to finished piece, check our full glass-cutting toolkit guide for the cutters and pliers that round out your bench, or see our stained glass grinder buying guide for smoothing edges before you foil.
3 Responses